

Your knees should not ache every time you squat. If they do, the problem is rarely your knees. In most cases, the problem is form. This guide will show you how to do a squat with strong, steady form from rep one. You will also learn the five mistakes that make knees ache, and the simple fix for each one.
A good squat feels smooth and controlled. Your feet stay planted, your chest stays tall, and your knees track over your toes. If your knees complain, that is useful feedback. It tells you where to look first.
You do not need a gym, a barbell, or perfect mobility to start. You need clear steps, a little space, and a plan you can repeat. This guide gives you all three. By the end, you will know how to do a squat with confidence, and you will have a four week plan to build strength week by week.
What a squat actually trains
A squat is a full lower body exercise. It trains your quadriceps at the front of your thighs, your glutes, your hamstrings, and your calves. It also trains your core, because your trunk must stay braced while your legs move. As a result, one move builds strength in many places at once.
Squats also train a pattern you use every day. You squat when you sit down, stand up, lift a box, and pick up a child. When you learn how to do a squat well, everyday movement feels easier too. For a wider plan, follow our beginner strength training plan and add squats as your main lower body move.
Squats can also help your balance and your bone health. Your feet, ankles, and hips all work together to keep you steady. In addition, the move builds the leg strength that supports your knees. Strong muscles around a joint take load off the joint itself.
Before you learn how to do a squat: space, shoes and safety
First, clear a space about 2 metres by 1 metre (about 6 feet by 3 feet). You need room to step out and lower down without hitting furniture. A clear floor also helps you focus on form instead of obstacles.
Next, check your shoes. Flat, firm shoes work best. Running shoes with soft, thick soles can make you wobble, and we will cover that mistake later. If you train at home, bare feet on a firm floor also work well for many people.
Now, a word on safety. Mild muscle effort is normal. Sharp pain is not. If you feel sharp pain in a knee, hip, or back, stop the set and rest. If pain keeps coming back, or if you have a knee injury or a medical condition, talk to a clinician or a physiotherapist before you train through it. This guide is general information, not medical advice.
Finally, start with bodyweight only. You can add weight later, after your form feels solid. If you are learning how to do a squat for the first time, our guide to calisthenics for beginners will help you build a base first.
How to do a squat in 6 clear steps
Follow these six steps in order. Move slowly at first, and breathe out as you stand. Quality matters more than speed, so take your time with each rep.
Step 1: Set your feet
Stand with your feet about shoulder width apart, or a little wider. Turn your toes out slightly, about 15 to 30 degrees. Your weight should sit across your whole foot, with a little more through your heels. Think of your feet as tripods, with the big toe, little toe, and heel all in contact with the floor.
Step 2: Brace your core
Before you move, take a breath into your belly and brace as if someone were about to tap your stomach. Keep your ribs down and your chest tall. This brace protects your back and keeps your trunk steady through the whole rep.
Step 3: Send your hips back and bend your knees together
Start the move by sending your hips back a little and bending your knees at the same time. Your hips and knees should move together, not one before the other. Let your knees travel forward over your toes in line with them. Keep your chest up as you go.
Step 4: Lower down under control
Lower yourself over two to three seconds. Aim for a depth where your thighs are near parallel to the floor, or as deep as you can go with good form. Your heels stay down, and your back stays in its natural curve. Do not rush this part.
Step 5: Drive the floor away
To stand, push the floor away with your whole foot. Think about driving your feet through the ground instead of pulling yourself up. Keep your knees tracking out over your toes as you rise. Your hips and chest should rise at the same speed.
Step 6: Finish tall
Stand all the way up and squeeze your glutes at the top. Do not lean back or thrust your hips forward. Then take a breath, reset your brace, and go again. That is one clean rep. When you learn how to do a squat this way, every rep looks the same, and that is the goal.
The 5 form mistakes that make knees ache
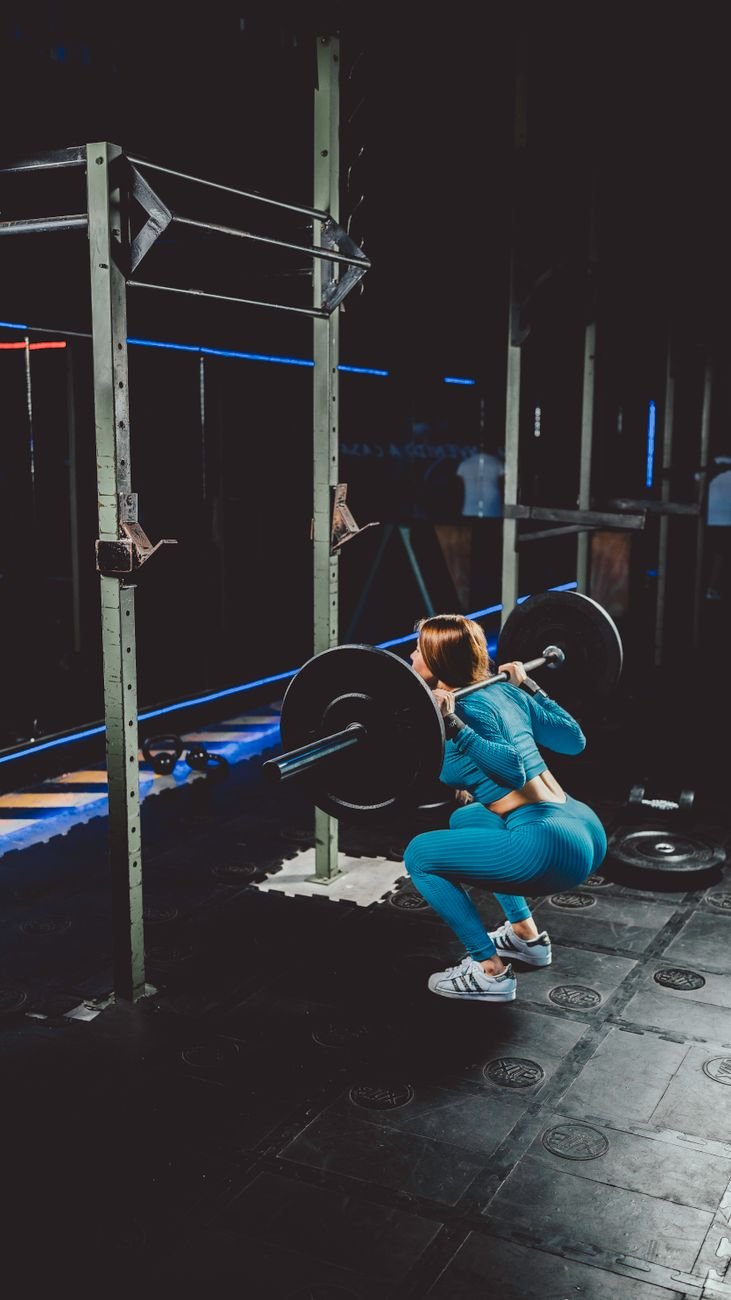
Most knee ache from squats comes from one of five mistakes. The good news is that each one has a simple fix. If you want to learn how to do a squat without knee pain, find the mistake that sounds like you and work on that fix first.
Mistake 1: Your knees cave inward
When your knees drop toward each other, the joint takes load at a bad angle. This often happens when your glutes are weak or when you rush the rep. It can also happen when the weight is too heavy for your current strength.
The fix: think about spreading the floor apart with your feet, or pushing your knees out gently toward your little toes. You can also place a light resistance band just above your knees. The band gives you feedback, and you must push out against it to keep it taut. Stronger hips help too, so add hip strengthening exercises to your week and watch your knees track straighter.
Mistake 2: Your heels lift off the floor
If your heels rise, your weight shifts forward onto your toes. That puts extra stress on your knees and makes you less stable. Tight calves and stiff ankles are common causes. Soft shoes can make it worse.
The fix: keep your weight over your whole foot and think about pushing through your heels as you stand. If your ankles feel stiff, raise your heels a little on a small plate or a wedge while you work on mobility. Also add ankle strengthening exercises and calf stretches to your routine, and retest your depth each week.
Mistake 3: You fold forward
When your chest drops and your hips shoot up first, your back takes over and your knees take extra load. This often means your core lost its brace, or the weight was too heavy. It can also mean your upper back is tight.
The fix: brace hard before every rep, and keep your chest tall as you stand. A counterbalance can help. Hold a light weight out in front of you, or do goblet squats with a dumbbell at your chest. The weight in front pulls you upright and teaches good posture. If you cannot keep your chest up, use less weight and build up slowly.
Mistake 4: You drop into the bottom
Dropping fast into the bottom of a squat feels easy, but it loads your knees with a sudden jolt. You also lose control of your knee position. Bouncing out of the bottom adds even more stress.
The fix: slow down. Take three seconds to lower, pause for one second at the bottom, then stand. A tempo of 3-1-1 works well for most people. You will feel the difference right away.
Mistake 5: You squat in soft, squishy shoes
Soft running shoes compress under load, and that makes your base unstable. Your feet roll, your knees wobble, and your form breaks down.
The fix: wear flat, firm shoes, or train barefoot on a safe floor. Your foot should feel the ground. If you only have running shoes, take them off for squats. This one change often fixes knee wobble in a single session.
How to do a squat: a 30 second form check
Film yourself from the side with your phone, or stand in front of a mirror. Then do five slow bodyweight squats and score yourself on five points. Give yourself one point for each point you pass.
- Feet stay flat, with heels on the floor for every rep.
- Knees track over toes and do not cave inward.
- Chest stays tall, with no big forward fold.
- Descent takes at least two seconds, with no drop or bounce.
- You finish tall, with glutes squeezed at the top.
If you score 5 out of 5, your form is in great shape. A score of 3 or 4 means you should work on the point you missed for two weeks, then test again. A score of 2 or less means you should go back to the six steps above and practise with a box or a chair behind you. Use this test each month to check that how to do a squat stays clean as you add weight. Small fixes add up fast when you test often.
How to do a squat to the right depth
Depth depends on your hips, ankles, and comfort. A good target is thighs near parallel to the floor, with heels down and back in a natural curve. That depth builds a lot of strength. However, depth is not a contest. When you learn how to do a squat to parallel, a shallower squat with great form still beats a deep squat with caving knees.
If you cannot reach parallel yet, squat to a box or a chair. Sit down lightly, then stand. As your mobility improves, use a lower box. This ladder approach builds depth safely over time. For more ideas, see the NHS strength exercises guide, which shows simple strength moves you can do at home.
One more point: pain is a limit, not a goal. If a certain depth hurts your knee, stop just above that depth and work there. Strength and mobility improve together. As a result, your depth will often improve on its own over a few weeks.
Breathing and bracing
Breathing sounds simple, but it changes your squat a lot. Good breathing is part of how to do a squat safely. Breathe in before you lower, brace your core, and hold that brace on the way down. Then breathe out as you stand, or at the top of the rep. This pattern keeps your trunk stiff when you need it most.
Do not hold your breath for a long set. For bodyweight squats, a steady in and out with each rep works well. For heavier reps, a bigger brace helps, but keep it short. If you feel dizzy, stop, breathe normally, and rest before your next set.
Easier and harder variations
You can scale a squat in both directions. Once you know how to do a squat with bodyweight, you can add load. Use an easier version while you learn, and a harder version once your form feels solid. Here are the best options, from easiest to hardest.
- Sit to stand: squat to a chair and stand again. This is the best first step if you feel unsteady.
- Counterbalance squat: hold a light weight out in front of you. The weight helps you stay upright.
- Goblet squat: hold a dumbbell or kettlebell at your chest. This is the best way to add load for most people.
- Box squat: squat to a box, pause, then stand. The box sets your depth and builds control.
- Split squat: one foot forward, one foot back. This builds single leg strength and balance.
- Tempo squat: lower for three seconds, pause for one second, then stand. This builds control fast.
Pick one variation and use it for two to four weeks before you move on. Progress comes from doing the same move well, not from changing moves every session. When you want a full upper body partner for your squat, learn how to do a pull up next and build balanced strength.
A 4 week plan to practise how to do a squat
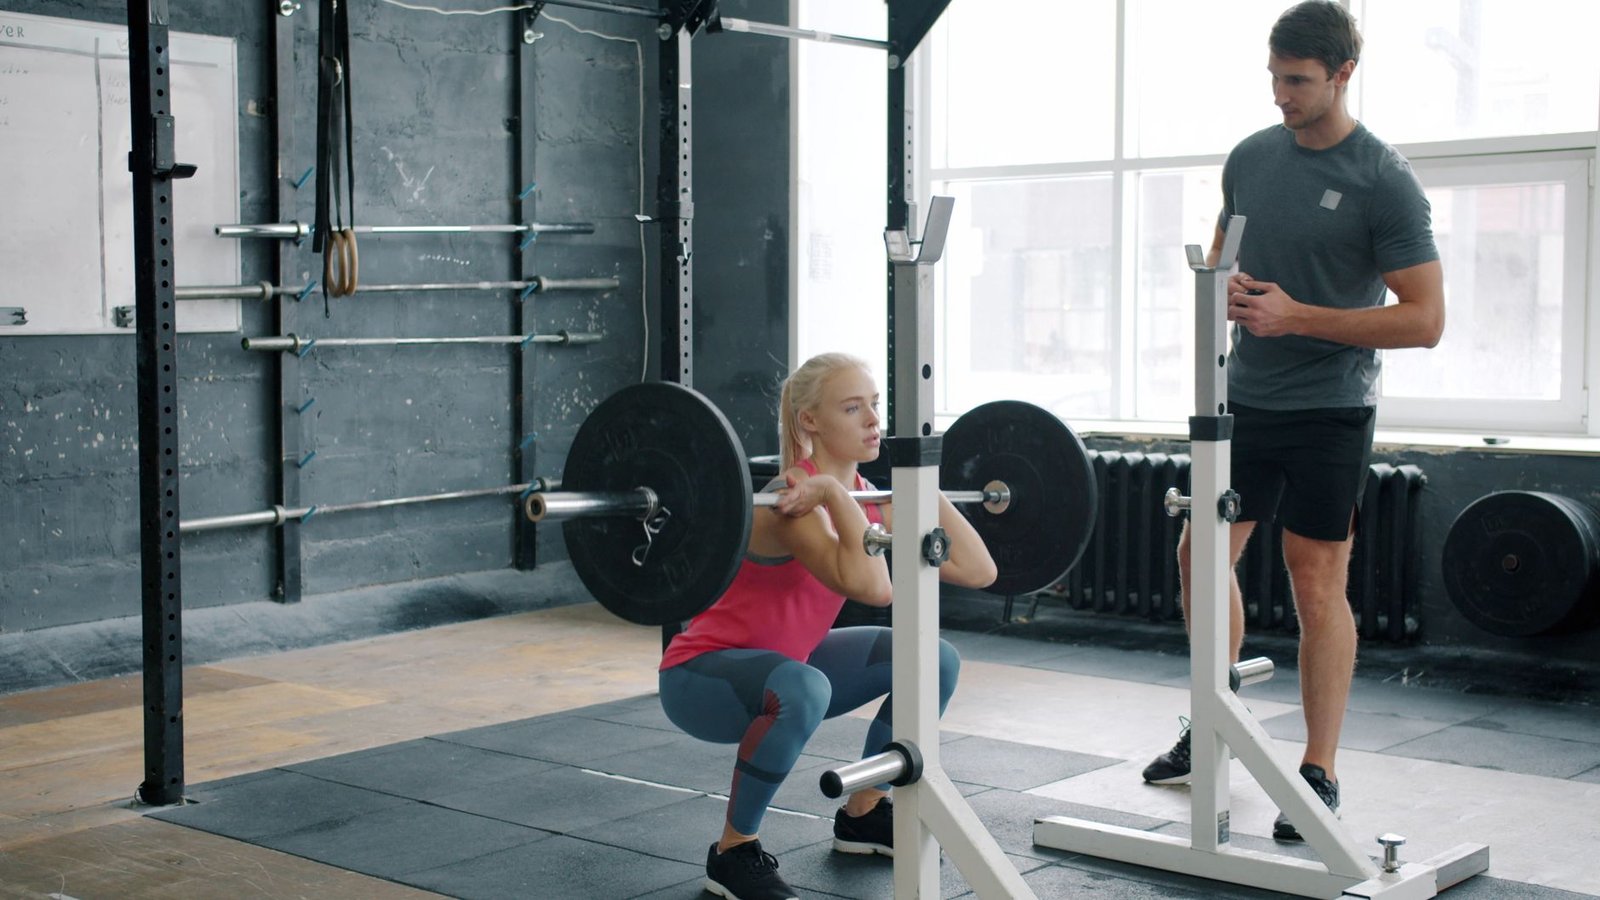
This plan teaches you how to do a squat step by step over four weeks. It uses bodyweight squats only. Train three days a week, with at least one rest day between sessions. If you already train, add this plan to your week, or use our beginner home workout plan as your base and slot squats in as the main leg move.
| Week | What to do | Sets and reps |
|---|---|---|
| Week 1 | Sit to stand or bodyweight squat to a box | 3 sets of 8 reps |
| Week 2 | Bodyweight squat, slow tempo | 3 sets of 10 reps |
| Week 3 | Goblet squat with a light weight (4 to 8 kg, or 10 to 18 lb) | 3 sets of 8 reps |
| Week 4 | Goblet squat, a little heavier (8 to 12 kg, or 18 to 26 lb) | 4 sets of 8 reps |
Rest for 60 to 90 seconds between sets. If a week feels easy, move on. If a week feels hard, repeat it. There is no rush. Strength built slowly lasts longer than strength rushed. Track your reps in a notebook or on your phone, and look for steady progress.
Warm up before you learn how to do a squat
Warm up for five minutes before you squat. Walk, march in place, or cycle gently until you feel warm. Then do a few leg swings, hip circles, and ankle rolls. This wakes up the joints you are about to use.
Next, do two or three warm up sets of easy squats. Start with sit to stands, then move to full bodyweight squats. Warm up before you practise how to do a squat with load, and your first working set should never be your first squat of the day. Warm muscles move better, and they protect your knees.
If your hips feel tight, add a short mobility routine after your warm up. Deep squat holds, hip openers, and calf stretches all help. Spend five minutes on mobility, and your depth will thank you.
Common questions about how to do a squat
These are the questions we hear most about how to do a squat. The answers are short, so you can find what you need fast.
Are squats bad for your knees?
No, squats are not bad for healthy knees when you use good form. In fact, strong leg muscles support the knee joint. However, pain is a signal worth listening to. If squats hurt, check your form, reduce your depth or load, and add knee exercises to strengthen the muscles around the joint. If pain lasts, see a clinician.
Can my knees go past my toes when I learn how to do a squat?
Yes, in most cases. Your knees will naturally travel forward over your toes in a deep squat. That is normal and safe for most people. When you learn how to do a squat, let your knees travel forward in line with your toes, and keep your heels down. What matters most is that your knees do not cave inward.
How many squats should I do per day?
You do not need to squat every day. Three sessions a week works well for most people. Aim for 3 sets of 8 to 12 reps per session, and rest a day between sessions. Your muscles grow stronger while you rest, not while you train. So rest is part of the plan.
What if I fall backwards when I squat?
Falling backwards often means your weight is too far back or your ankles are stiff. First, keep your weight over your whole foot. Next, squat to a chair or a box so you feel safe. Finally, work on ankle mobility and try a small heel lift. Most people fix this in a few weeks.
Do squats help with weight loss?
Squats can help, but they are not a weight loss tool on their own. They build muscle, and muscle burns more energy than fat does at rest. They also burn calories while you train. For weight loss, pair strength training with walking, sleep, and food choices you can keep. Squats are one part of a bigger picture.
Why is one side stronger than the other?
Almost everyone has a stronger side. You may notice one knee tracks better, or one leg pushes harder. Split squats and single leg work can help even things out. Keep your reps even on both sides, and do not load the stronger side more. Balance improves with time and practice.
The bottom line on how to do a squat
Learning how to do a squat well is one of the best things you can do for your legs, your knees, and your everyday strength. Start with the six steps, fix the mistake that sounds most like you, and follow the four week plan. Small, steady practice beats a perfect single session.
Your knees should feel better as your form improves, not worse. If they do not, step back, check your depth and your shoes, and get advice from a clinician. Then keep going. Strong, pain free squats are a skill, and skills improve with practice.
This article is general information only. It is not medical advice, and it does not replace advice from a clinician or a physiotherapist. If you have pain, an injury, or a medical condition, talk to a qualified professional before you start a new exercise program.

 Ablaze Fitness


 Mélanie Courcelles


