


If your hips feel tight when you get up from a chair, if your knees complain on stairs, or if your lower back aches after a long walk, you are not alone. Weak hip muscles are one of the most common reasons everyday movement starts to feel harder than it should. The good news is that you can change that at home, with no gym membership and no special equipment. These seven hip strengthening exercises for beginners are gentle, clear, and easy to follow, and they build the stability that makes walking, climbing stairs, and standing feel easier again.
In this guide, you will learn what your hip muscles actually do, how to do each move with good form, how to put the seven exercises together into a simple routine, and how to progress safely over 30 days. You do not need to be flexible, fit, or experienced. You only need a little floor space, a chair nearby for balance, and about 15 minutes, three times a week.
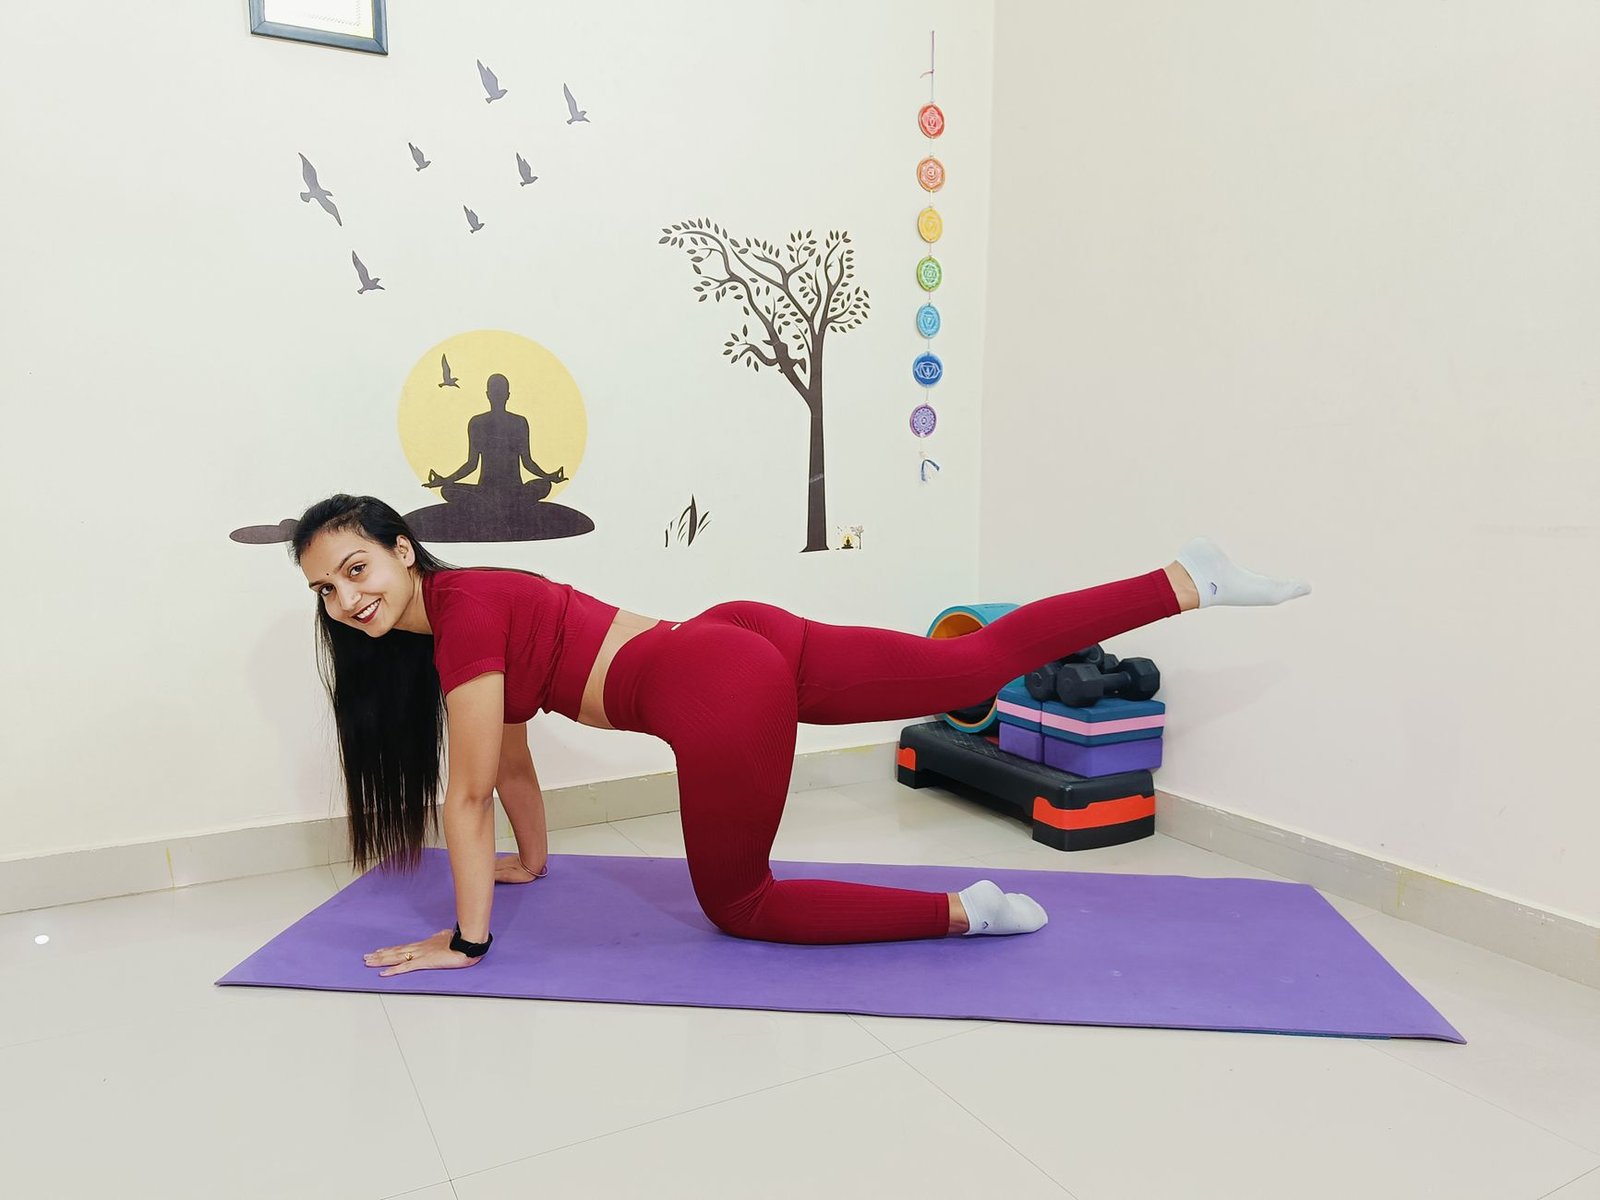
Why Hip Strengthening Exercises Matter More Than You Think
Your hips sit at the center of almost everything your body does. When you walk, climb stairs, stand up, or carry shopping bags, your hip muscles keep your pelvis level, your knees tracking straight, and your spine supported. When those muscles are weak, other parts of your body pick up the slack. Your knees may cave inward, your lower back may arch too much, and your ankles may roll. Over time, that extra work can show up as pain in places that seem unrelated to your hips.
Strong hips make everyday movements easier and more stable. Balance improves with stronger hips, which matters more with every passing year. Your knees stay better aligned when you step, squat, or lunge, because strong outer hips keep them tracking straight. Your lower back also gets support, because a stable pelvis means your spine does not have to twist or compensate as much. Hip strength supports your knees directly, so the routine below can help if knee discomfort is part of the picture for you.
You do not need heavy weights to build useful hip strength. Bodyweight exercises, done slowly and with control, are enough to start. The key is consistency, not intensity. Three short sessions a week, done well, will do far more for you than one exhausting session you dread and skip.
Your Hips Do the Work in Almost Every Move You Make
It helps to know a little about what is going on inside your hips. Your hip joint is a ball-and-socket joint, which means it can move in many directions: forward and back, side to side, and in rotation. The muscles around it fall into a few main groups. The glutes, the large muscles at the back, power you forward when you walk and help you stand up. On the outer side of the hip, the abductors keep your pelvis level when you stand on one leg. At the front, the hip flexors lift your thigh when you step forward. Deep inside, the small rotators help with balance and control when you turn.
Most of us spend much of the day sitting, and sitting keeps the hip flexors short and the glutes quiet. That combination is a recipe for tight, weak hips. The exercises in this guide work all of these muscle groups, not just one, so you build balanced strength rather than overworking a single area. If you are just starting out, our low-impact workouts for beginners give you gentle ways to move more without high-impact stress, and the hip work below fits that same gentle approach.
The 7 Best Hip Strengthening Exercises for Beginners
These seven moves were chosen because they are simple, safe for most beginners, and effective without equipment. Do them in the order listed, and rest for 30 to 60 seconds between exercises. If a move causes sharp pain, skip it and try the next one. Mild muscle effort is normal. Sharp or joint pain is not.
1. Clamshell
Lie on your side with your knees bent and your feet together, like a closed clamshell. Rest your head on your lower arm. Keep your feet touching and slowly lift your top knee, opening your legs like a clamshell, then lower it back down with control. Your hips should stay stacked and still. Do not let your top hip roll backward.
Do 10 to 12 slow repetitions on each side. This move targets the gluteus medius, the muscle on the side of your hip that keeps your pelvis level when you walk. If it feels too easy, you can add a resistance band around your knees later, but start without one.
2. Glute Bridge
Lie on your back with your knees bent and your feet flat on the floor, hip-width apart and close enough to your body that you can just touch your heels with your fingertips. Press through your heels and lift your hips toward the ceiling until your body forms a straight line from your shoulders to your knees. Squeeze your glutes at the top, then lower slowly.
Do 12 to 15 repetitions. Keep your lower back relaxed and avoid arching it at the top. If you want a slightly different version once this feels easy, the KAS glute bridge uses a shorter range of motion and a longer hold at the top, which many people find easier on the lower back.
3. Side-Lying Leg Lift
Lie on your side with your legs straight and stacked. Support your head with your lower arm. Slowly lift your top leg about 12 inches, keeping it straight and your toes pointing forward, then lower it with control. Do not let your hips roll forward or backward.
Do 10 to 12 repetitions on each side. This move strengthens the outer hip and thigh, and it is a good partner to the clamshell because it works the same muscles from a different angle.
4. Standing Hip Abduction
Stand tall next to a chair or wall and hold it lightly for balance. Keeping your standing leg soft and your body upright, slowly lift your other leg out to the side, about 12 inches, then lower it with control. Do not lean to the side or let your hip hike up.
Do 10 to 12 repetitions on each side. This is one of the most useful hip strengthening exercises for walking, because it trains the exact muscles that keep your pelvis steady with every step.
5. Standing Hip Extension
Stand tall holding a chair for balance. Keeping your leg straight, slowly swing it backward about 12 inches, squeezing your glute, then return to the starting position with control. Do not arch your lower back as your leg moves back.
Do 10 to 12 repetitions on each side. This move strengthens the glutes and the back of the hip, which help you push off with each step and stand up from a chair.
6. Marching in Place
Stand tall, holding a chair if you need support. Lift one knee toward hip height, then lower it and lift the other, as if you are marching slowly in place. Keep your core gently braced and your shoulders relaxed. Move slowly enough that you stay balanced on each leg for a moment before switching.
March for 30 seconds to start, and build up to 60 seconds. This move trains your hip flexors and your balance at the same time, and it is a gentle way to warm up before the other exercises.
7. Seated Hip March
Sit tall in a sturdy chair with your feet flat on the floor. Lift one knee a few inches off the seat, hold for two seconds, then lower it and lift the other. Keep your upper body still and avoid leaning to either side.
Do 10 lifts on each side. This is a good starting point if standing exercises feel hard, and it is also a useful move to do during the day if you sit for long periods.
Your Form Matters Most in Hip Strengthening Exercises
Good form is what turns a simple exercise into a useful one. Move slowly, breathe normally, and focus on the muscle you are trying to work. If you rush through the repetitions, other muscles will take over and your hips will not get the training they need. If you are building a routine at home, our beginner home workout is a good place to start, and you can add these hip moves to the end of that session.
A few form cues help with almost every move in this guide. Keep your pelvis level and avoid letting it tilt or twist. Keep your knees pointing in the same direction as your toes. Breathe out as you lift or push, and breathe in as you lower. Stop and rest if your form breaks down. It is better to do six good repetitions than twelve sloppy ones.
How to Build Your Hip Strengthening Routine
Here is a simple routine that uses all seven hip strengthening exercises. It takes about 15 minutes, and you can do it three times a week, with at least one rest day between sessions.
- Marching in Place: 30 to 60 seconds, as a warm-up
- Clamshell: 10 to 12 repetitions per side
- Glute Bridge: 12 to 15 repetitions
- Side-Lying Leg Lift: 10 to 12 repetitions per side
- Standing Hip Abduction: 10 to 12 repetitions per side
- Standing Hip Extension: 10 to 12 repetitions per side
- Seated Hip March: 10 repetitions per side, to finish
Rest for 30 to 60 seconds between exercises. If you are short on time, you can do one set of each move. If you have more time, repeat the whole circuit a second time after a short rest. Aim for three sessions a week, and try to keep the days regular so it becomes a habit.
How to Progress Your Hip Strengthening Exercises Without Overdoing It
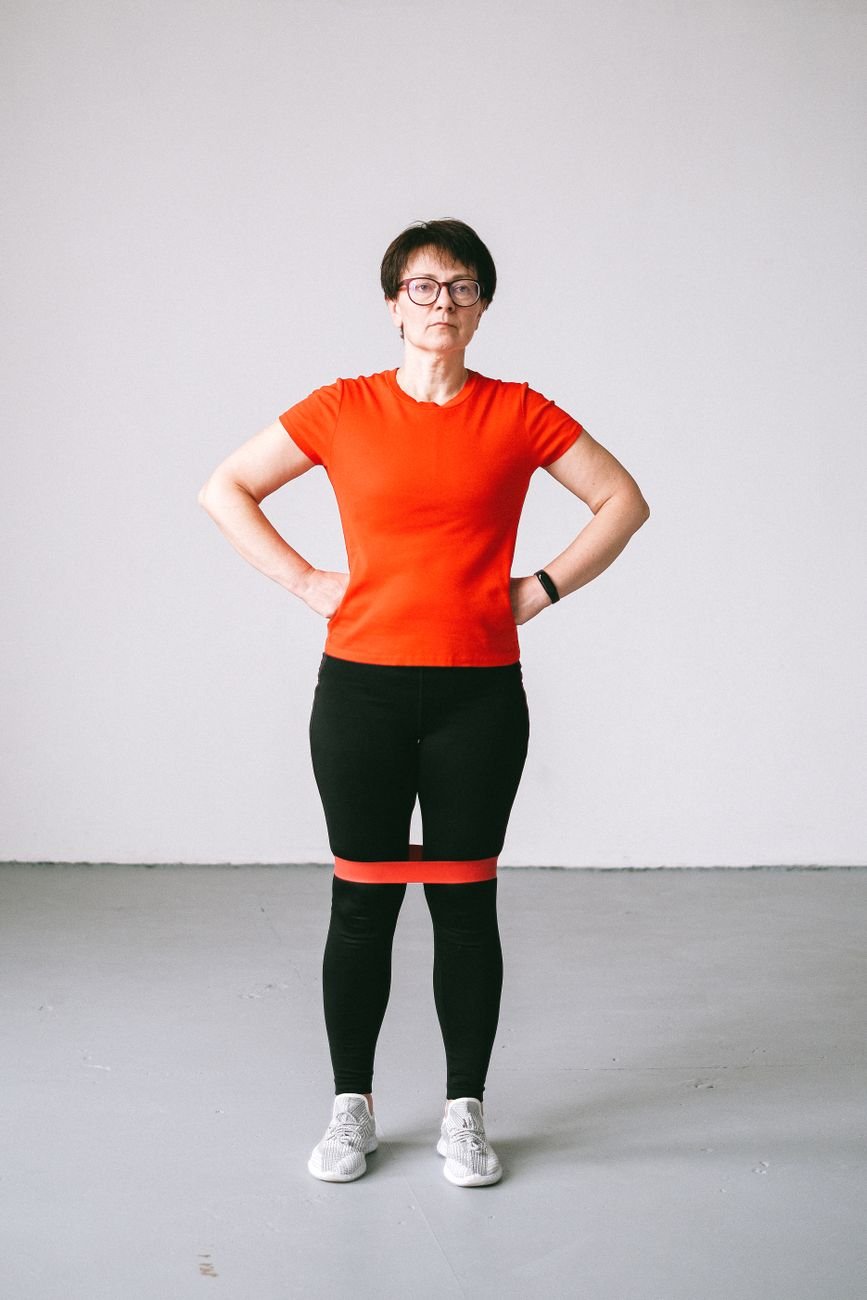
Once the routine feels comfortable, you can make it harder in small steps. Add a second set of each exercise before you add resistance. When two sets feel easy, add a light resistance band around your knees for the clamshell and glute bridge, or hold a light weight during the standing moves. Increase only one thing at a time, and give your body a week to adjust before you change anything else.
Progress is not always a straight line. Some days your hips will feel strong and steady, and other days they will feel tired. That is normal. If a session feels hard, do fewer repetitions and focus on form. The goal is steady improvement over weeks, not a perfect workout every time.
Common Mistakes to Avoid
A few common mistakes can hold back your progress or cause discomfort. The first is letting your lower back do the work. In the glute bridge, for example, arching your back at the top takes the work away from your glutes. The second is rushing. Fast, uncontrolled repetitions build momentum, not strength. The third is holding your breath, which raises tension and makes balance harder. Breathe steadily through every set.
Another mistake is skipping the warm-up. A minute of marching in place prepares your hips and your balance for the work ahead. Skipping it may not cause harm, but your first few repetitions will feel stiffer and less controlled.
A Quick Word About Pain
These exercises are gentle, but they are not a treatment for an injury. If you have sharp hip pain, pain that wakes you at night, pain after a fall, or pain that does not improve after a few weeks of gentle exercise, see a healthcare professional before you continue. The NHS has clear guidance on hip pain, including when to seek help and what to expect from an assessment. This guide is general information only, and it is not a substitute for personal medical advice.
Mild muscle soreness for a day or two after a new routine is normal. Sharp, catching, or locking pain is not. Listen to your body, and when in doubt, get checked.
What to Do After Your Hip Strengthening Exercises
After your hip session, take a few minutes to cool down. Walk slowly around your home for a minute, then stretch gently if you like. A simple standing quad stretch, holding a chair for balance, and a gentle seated figure-four stretch can help your hips feel looser after the work. After your workout, foam rolling can help ease tight muscles around your hips and thighs, if you already use a foam roller and it feels comfortable.
Drink some water, and try to move a little more during the rest of your day. Short walks help your hips stay loose, and they count toward your daily movement even if they are only a few minutes long.
Your 30-Day Hip Strengthening Plan
Here is a simple way to build the habit over the next month. The plan keeps the same seven moves throughout, and only the number of sets and the resistance change.
Week 1: Learn the Moves
This week, try the routine three times, with one set of each exercise. Focus on form, not on how many repetitions you can do. If a move feels awkward, do it slowly in front of a mirror or with a chair nearby.
Week 2: Build the Habit
Do the routine three times this week, one set of each exercise. Try to keep the same three days each week, for example Monday, Wednesday, and Friday. Add a short daily walk, for example a walk after a meal, which also helps digestion; our guide to the benefits of walking after meals explains why that small habit is worth keeping.
Week 3: Add a Second Set
This week, repeat the routine three times, with two sets of each exercise. Rest for a minute between sets. You should notice that the moves feel more familiar and that your balance is steadier.
Week 4: Add a Little Resistance
In your final week, do the routine three times, with two sets of each exercise, and add a light resistance band for the clamshell and glute bridge if you have one. If you do not have a band, add three more repetitions to each exercise instead. By the end of the month, you should feel steadier on stairs and more confident on uneven ground.
Frequently Asked Questions
How often should I do hip strengthening exercises?
Three times a week is a good target for most beginners, with at least one rest day between sessions. Your muscles need time to recover and adapt, and three short sessions are easier to keep up than daily workouts that leave you tired. If you miss a session, just pick up the routine at your next planned day rather than trying to make it up.
What are the best hip strengthening exercises for beginners?
The best hip strengthening exercises for beginners are the seven moves in this guide: clamshell, glute bridge, side-lying leg lift, standing hip abduction, standing hip extension, marching in place, and seated hip march. They work the main hip muscle groups, need no equipment, and can be done at home in about 15 minutes.
Can hip strengthening exercises help with knee pain?
Strong hips can help with some knee pain, because weak hip muscles often let the knee cave inward when you walk or climb stairs, which can irritate the knee. Strengthening the glutes and outer hip muscles helps keep the knee tracking straight. That said, knee pain has many causes, and exercises are not a treatment for an injury. If your knee pain is sharp, swollen, or does not improve, see a healthcare professional.
How long does it take to see results from hip exercises?
Most people notice better balance and steadier steps within two to three weeks of regular practice, and real strength gains usually show up after four to six weeks. You may notice the change first in everyday tasks, such as standing up from a low chair or climbing stairs, rather than in the exercises themselves. Consistency matters more than speed.
Do I need equipment for hip strengthening exercises?
No. All seven moves in this guide use only your bodyweight, a chair for balance, and floor space. A resistance band is a useful addition later, once the bodyweight moves feel easy, but it is not needed to start. A yoga mat can make floor exercises more comfortable if you have hard floors.
Start Small, Stay Steady, and Keep Moving
Strong hips are not built in a single workout. They are built by small, regular sessions that fit into your week and leave you feeling better, not worn out. Start with the seven moves in this guide, do them three times a week, and give yourself a month to notice the difference. Your steps should feel steadier, your stairs should feel easier, and your body should feel more confident when you move.
Pick a day to start, set aside 15 minutes, and do the first session today. Your hips will thank you for it.
This article is general information only and is not medical advice. If you have a hip injury, a medical condition, or pain that does not improve, speak with a healthcare professional before starting a new exercise routine.

 Ablaze Fitness


 Mélanie Courcelles


