

A massage gun looks simple. You point it at a sore muscle, pull the trigger, and let it thump away. In real life, it is not that easy. Too much pressure can leave a bruise. Too long in one spot can make a muscle more sore, not less. Learning how to use a massage gun the right way protects your muscles and gets you the relief you bought it for.
This guide shows you the full method. You will learn what a massage gun does, how to pick the right attachment, how long to stay on each muscle, and which spots to skip. It also covers the mistakes that cause most bruises and soreness. Type how to use massage gun into a search engine and you will find a hundred videos. By the end of this guide, you will know how to use a massage gun with confidence.
What Is a Massage Gun, Exactly?
A massage gun is a handheld device that taps a muscle many times per second. It uses short, fast strokes called percussions. The head moves in and out by a small distance, usually 10 to 16 millimetres (about 0.4 to 0.6 inches). This rapid tapping is known as percussive therapy.
Most massage guns have a few speed settings and a set of heads, called attachments. For large muscles, the round ball head is the best choice. Broad areas suit the flat head. Small, precise spots need the bullet head. Around tendons such as the Achilles, use the fork head. The device itself does the work. Your job is to guide it, not to push it.
A massage gun is not a medical device. It does not heal injuries, fix posture, or replace hands-on treatment. It is a recovery tool. Used well, it can help tight muscles relax and ease normal post-workout soreness. Used badly, it can bruise skin and irritate tissue.
Attachments, Noise, and Battery
Attachments change how the gun feels. A soft round head spreads the force and feels gentle. A hard flat head feels firmer and covers more skin at once. A small bullet head focuses the force on one point, so use it with care. Start with the round ball. It suits most muscles and most people.
Massage guns vary in noise and battery life. A quiet model suits a shared home or a busy gym. Battery life ranges from 2 to 6 hours per charge, which covers many sessions. Check the battery before you start so the gun does not stop halfway through a session. A dead battery is annoying, not dangerous. Weight matters too. A heavy gun tires your arm during a long session. Hold the model in your hand before you choose one, and pick the lightest one that still feels solid. If you travel with the gun, pack it in a case so the heads do not press against other items.
How a Massage Gun Is Supposed to Help
The idea is simple. Fast tapping increases blood flow to the area. More blood flow brings oxygen and helps clear waste from hard-working muscles. The tapping may also calm the nerves that signal tightness. As a result, the muscle feels looser and less sore after a session.
What does the research say? Studies are small and short. Some find that percussive therapy lowers soreness in the day after exercise, known as delayed onset muscle soreness. Others find small gains in range of motion, for example when the calves or hamstrings are treated before stretching. However, no large trial proves long term benefits. The National Center for Complementary and Integrative Health summarizes what research says about massage therapy, and its message is cautious. The evidence is promising, not proven.
That gap matters. A massage gun can help you feel better after training. It cannot undo an injury, and it cannot replace rest, sleep, or a good warm-up. Think of it as one tool in a recovery kit. Other recovery tools such as foam rolling work in a similar way. Pair the gun with light movement and proper rest, and it works best. That is why learning how to use a massage gun matters more than buying the strongest model.
What about range of motion? A few small studies show that a short massage gun session before stretching can help a joint move a little further. The effect is small and fades fast. It may help before a workout, but it is not a fix for stiff joints. Other tools, such as a cold plunge, suit some people too. Choose the tool that fits your body and your routine.
Before You Switch It On
Start with the basics. Charge the device fully before your first session. Read the short manual that came with it. Learn how to change the speed and swap the attachments. A loose attachment can wobble and pinch skin, so click each head firmly into place.
Check your body first. Do not use a massage gun on a fresh injury, a swollen joint, or skin that is cut, bruised, or infected. Skip it if you have a blood clot, take blood thinners, or have a condition that affects feeling in your skin. If you are pregnant, have a long term health condition, or take regular medicine, ask your doctor first. When in doubt, skip the session and ask a professional.
Set up a clean space. Sit or lie down so the muscle is relaxed. Tight muscles resist the tapping, so let the limb rest on a chair or a pillow. Keep water nearby. A short session is enough, and you can always repeat it later. For more ideas on what to do after training, read our post-workout recovery tips.
How to Use a Massage Gun, Step by Step
Follow these five steps every time. They work for any muscle group. This is how to use a massage gun in any session. Once you know the pattern, a full session takes about 10 to 15 minutes.
Steps 1 and 2: Pick the Right Head and Start Slow
Step 1: Pick the right head. Match the head to the muscle. For large muscles such as the thighs, glutes, and back, choose the round ball. Broad, flat areas such as the chest or the front of the thigh suit the flat head. Save the bullet head for small, precise spots, such as the sole of the foot or the palm of the hand.
Avoid the fork head unless you know the spot well. It fits around tendons, but it can pinch if it slips. For most people, the round ball covers 80 percent of sessions. Start with it, and switch heads only when you need a different shape.
Step 2: Start on the lowest speed. Turn the gun on before it touches your skin. Let it reach its lowest speed first. Then rest the head lightly on the muscle. A gentle start lets your body adjust to the tapping. It also shows you how the muscle reacts before you add speed.
Increase the speed only if the muscle stays relaxed. Most people never need the top speed. A low or middle speed treats most soreness well. If the tapping feels sharp or the muscle jumps, turn the speed down. Pain is a signal, not a goal.
Step 3: Float, Do Not Press
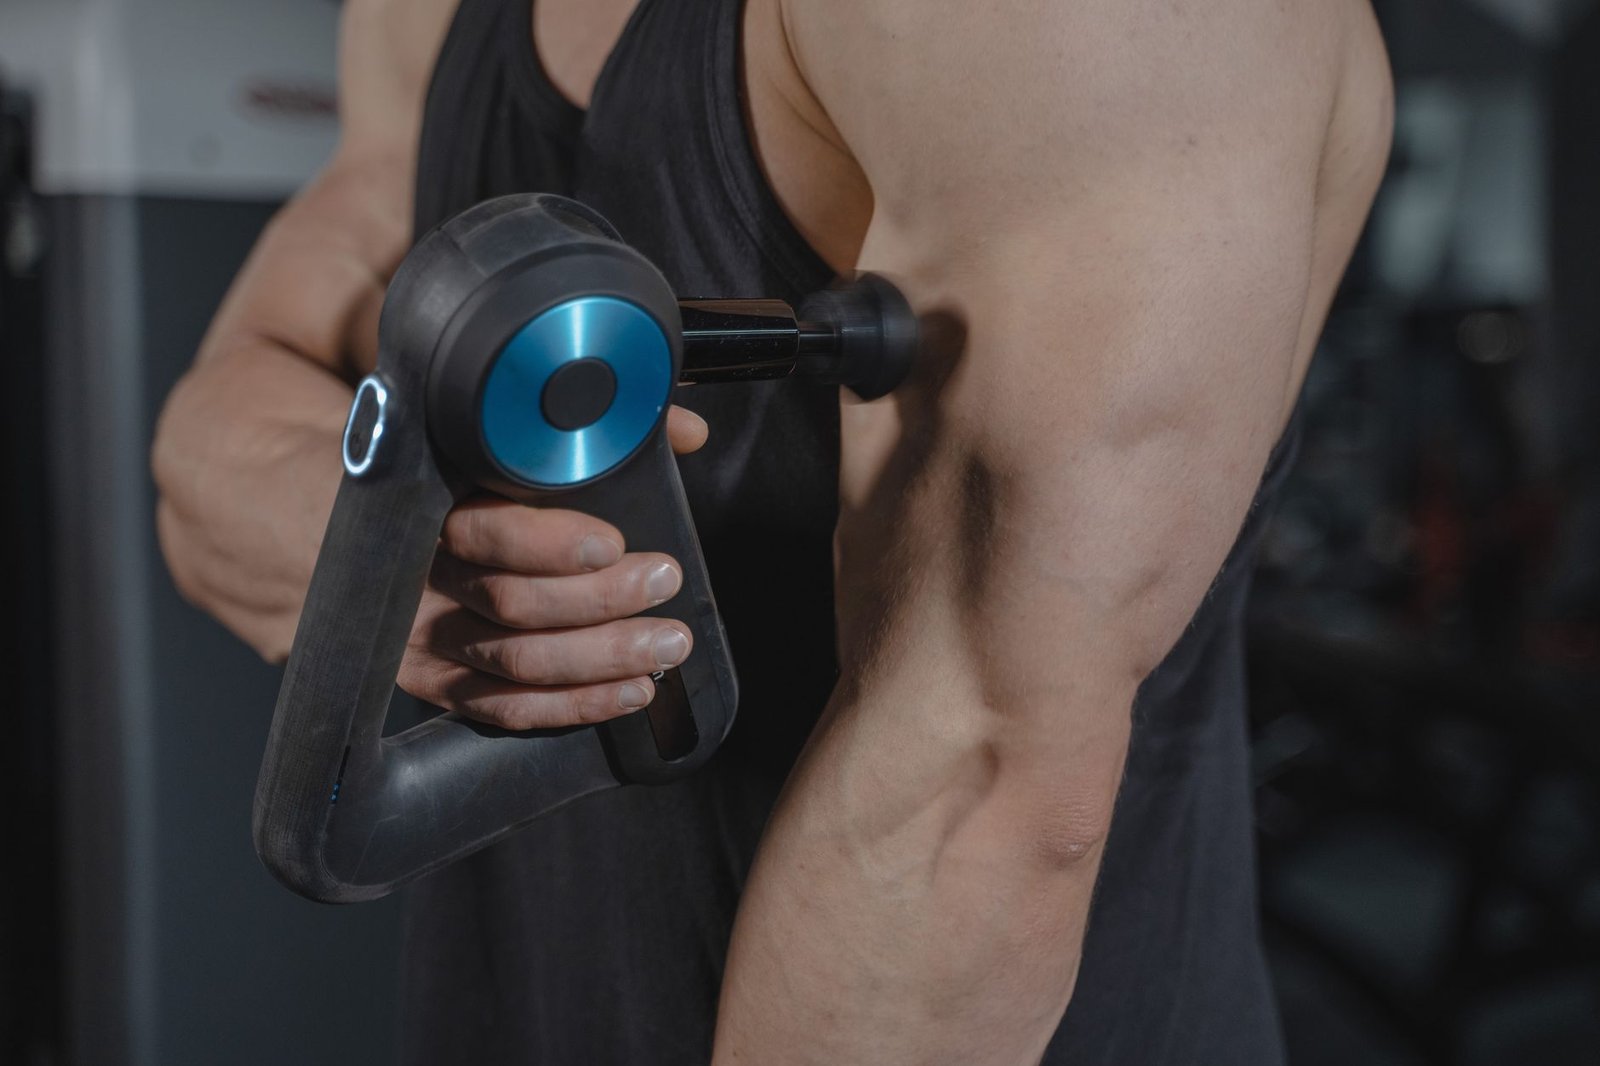
Step 3: Float, do not press. Hold the gun with a relaxed grip and let its own weight press into the muscle. Do not lean on it. The device is designed to work with light pressure. Pushing hard drives the head too deep and can bruise the tissue below the skin. This is the most common error when people learn how to use a massage gun.
Keep the head flat against the muscle. Tilted heads dig in at one edge and can pinch. If you feel a sharp edge, lift the gun, reset it flat, and start again. Your arm should stay loose the whole time. If your shoulder gets tired, you are pressing too hard.
Steps 4 and 5: Keep It Moving and Know When to Stop
Step 4: Keep it moving. Move the gun slowly along the muscle, about 2 to 3 centimetres (around 1 inch) per second. Sweep up and down the length of the muscle. Do not park it on one spot. Staying still concentrates the force and can leave a bruise or a sore patch.
Spend 30 to 60 seconds on each area. A large muscle such as the thigh can take up to 2 minutes. A small muscle such as the forearm needs only 30 seconds. If the area still feels tight, move to the next muscle and come back later. Short passes beat long, hard ones.
Step 5: Know when to stop. Stop when the muscle feels looser or the skin turns pink. Pink skin is normal. Red, blotchy, or painful skin is not. Stop at once if you feel sharp pain, numbness, or tingling. Those signs mean the gun is too strong or too close to a nerve.
End the session after 10 to 15 minutes in total. More is not better. A long session can leave muscles more sore the next day. If you want more relief, wait a few hours and do a second short session. Give your body time to respond.
How Long to Use a Massage Gun on Each Muscle
Time depends on the size of the muscle. Use these ranges as a guide. Calves and forearms: 30 to 60 seconds each. Thighs, glutes, and upper back: 1 to 2 minutes each. Shoulders and chest: 30 to 60 seconds each. Feet and hands: 30 seconds each, with the bullet head on low speed.
Limit a full session to 10 to 15 minutes. Treat 3 to 5 muscle groups in one session. Use the gun once or twice a day at most, and not every day on the same muscle. Muscles need rest days too. That is how to use a massage gun across a week without overdoing it.
Listen to your body between sessions. If a muscle still feels tender the next morning, skip it that day. Soreness that fades within a day is normal. Soreness that grows is a sign to rest longer. For example, if you trained legs hard, treat them after the session, then leave them alone the next day.
Where You Should Never Use a Massage Gun
Some areas are off limits. Never use a massage gun on the front of your neck, where large blood vessels and nerves sit close to the surface. Never use it on your head, face, or spine. Bones have little padding, so the tapping hits hard and can hurt.
Skip joints such as knees, elbows, and ankles. The groin and the armpit are off limits too. Any area with a varicose vein, a rash, a wound, or a recent bruise is also out. Do not use the gun on the lower back if you have a slipped disc or any nerve pain. If an area is numb, swollen, or injured, leave it alone. A massage gun treats muscle, not bone, nerve, or injury.
Skip a massage gun if you have a pacemaker or another implanted medical device. Vibration can interfere with some devices, so ask your doctor first. The same rule applies to a recent surgery site or a healing fracture. A short call to your doctor is safer than a guess. Children should not use a massage gun without an adult nearby. If a health professional tells you to avoid vibration, follow that advice and choose another recovery tool.
Common Mistakes to Avoid
The first mistake is pressing too hard. People think more pressure means more relief. It does not. Hard pressure bruises tissue and can make soreness worse. Let the gun float. If you see a red mark after a session, you pressed too hard.
The second mistake is staying in one spot. The gun is made to move. A still gun focuses all its force on one small patch. Move slowly and cover the whole muscle. Similarly, do not chase a painful knot with the highest speed. Slow, gentle passes work better than a hard attack.
The third mistake is using it on an injury. A sprain, a strain, or a pulled muscle needs rest and care, not pounding. A massage gun can make a fresh injury worse. Wait until the pain and swelling settle, then ask a doctor or a physiotherapist before you start. The fourth mistake is skipping the warm-up. Cold, stiff muscles react badly to hard tapping. Do five minutes of light movement first, then use the gun.
The fifth mistake is using the gun over thick clothing or with lotion on the skin. Thick fabric dulls the tapping and makes the session less effective. Lotion makes the head slip and can push the gun into the wrong spot. Use the gun on dry skin or through a thin layer of clothing. That keeps the treatment even and safe.
Frequently Asked Questions
Can I use a massage gun every day? Yes, you can use it most days, but not on the same muscle every day. Give each muscle at least a day of rest between sessions. If a muscle stays sore, skip a day. Daily use on the same spot can irritate tissue instead of helping it. If you are still learning how to use a massage gun, start with every other day.
How long should I use a massage gun on sore legs? Spend 1 to 2 minutes on each thigh and 30 to 60 seconds on each calf. Keep the total leg session under 10 minutes. Use a low or middle speed, and keep the gun moving. If your legs still feel heavy the next day, add light walking and rest.
Is it normal to feel sore after a massage gun? Mild soreness for a day can happen, especially the first few times. Sharp pain, bruising, or numbness is not normal. Those signs mean you pressed too hard, stayed too long, or used too high a speed. Turn the speed down next time and shorten the session. Review the steps above for how to use a massage gun at a lower speed.
More Questions About Massage Guns
Can I use a massage gun before a workout? Yes, a short session before training can help muscles feel loose. Use a low speed for 30 to 60 seconds per muscle. Keep it light. Save longer sessions for after training, when the goal is recovery, not warm-up.
Should I use a massage gun on my lower back? Use it only on the muscles beside the spine, never on the spine itself. Keep the speed low and the pressure light. If you have back pain, a slipped disc, or nerve symptoms such as tingling down a leg, skip it and ask your doctor first. This is one more reason to learn how to use a massage gun with care.
Do I need oil or lotion with a massage gun? No. A massage gun works on dry skin or through light clothing. Oil can make the head slip and reduce control. If your skin is sensitive, use the gun over a thin shirt. That softens the tapping without losing the effect.
How to Use a Massage Gun: The Bottom Line
A massage gun is a simple tool with a simple rule: light, slow, and moving. Pick the right head, start low, float the gun, keep it moving, and stop after 10 to 15 minutes. Skip the neck, spine, joints, and any injured area. That is how to use a massage gun without bruises and without wasted effort.
Start with short sessions and build up as you learn how your body responds. Pair the gun with sleep, food, and rest days. No device replaces those basics. If you want a full plan for what to do after training, read our guide to recover faster after a workout. When in doubt about how to use a massage gun safely, ask a professional first.
This article is for general information only. It is not medical advice. A massage gun is not a treatment for any injury or health condition. If you have pain, an injury, or a medical condition, talk to a qualified health professional before use.

 Ablaze Fitness


