

Calisthenics for beginners sounds simple: you use your own body weight, no gym, no machines, no monthly fee. And it is simple. But simple does not mean easy, and it does not mean random. The people who get strong with calisthenics are the ones who follow a plan, start with moves they can actually do, and progress a little at a time.
This guide is that plan. You will also learn the 10 moves every beginner needs, how to make each one easier or harder, and a 4-week plan that takes you from your first session to a real routine. You need no gym membership and almost no kit. A doorway pull up bar helps later, but you can start today with a floor and a wall.
What Is Calisthenics, Really?
Calisthenics for beginners is strength training that uses your body weight as resistance. Push ups, squats, pull ups, dips and planks are all calisthenics. So are the moves gymnasts train, although you do not need to be a gymnast to benefit. The word comes from Greek, kalos meaning beautiful and sthenos meaning strength, but you do not need the history to use it. You need a floor, your body and a way to progress.
The difference between calisthenics and weight training is the tool, not the goal. Both build strength, muscle and coordination. Weights let you add load in small steps. Calisthenics makes you change leverage, angles and reps to make a move harder. That is why progressions matter so much: a push up is easy for some and impossible for others, so you need versions at every level.
Calisthenics also trains skills that machines skip. Balance, body control and core stability all improve because your whole body works together in every move. That is useful far beyond the workout: carrying shopping, climbing stairs, playing with your kids or getting up from the floor all get easier.
Why Calisthenics Works So Well for Beginners
Beginners benefit from calisthenics for three reasons. First, the cost is almost nothing. You can train at home, in a park or in a hotel room, which removes the biggest barrier most people face: getting to the gym. Second, the moves are natural. Your body already knows how to squat, push and hang; you are refining patterns, not learning alien ones. Third, progress is visible. When you go from wall push ups to floor push ups, or from a 10-second hang to a 30-second hang, you can feel the change, and that keeps you coming back.
There is honest evidence behind it too. The Centers for Disease Control and Prevention recommends adults do muscle-strengthening activities on 2 or more days a week, and calisthenics counts. Bodyweight training builds strength and muscle when it is progressed properly, and it is one of the easiest ways to meet that guideline without buying anything.
Calisthenics is not a magic shortcut. It will not build a powerlifter’s physique on its own, and it will not replace a varied diet or good sleep. But for a beginner who wants to get stronger, move better and build a habit that lasts, it is one of the best places to start.
The 10 Calisthenics Moves Every Beginner Needs
These 10 moves cover the whole body: pushing, pulling, legs, core and grip. Learn them in order, and do not rush. Each move also has three levels: an easier version to start with, the standard version to aim for, and a harder version for when the standard gets easy. That is the progression system that makes calisthenics for beginners work.
1. Wall Push Up to Push Up
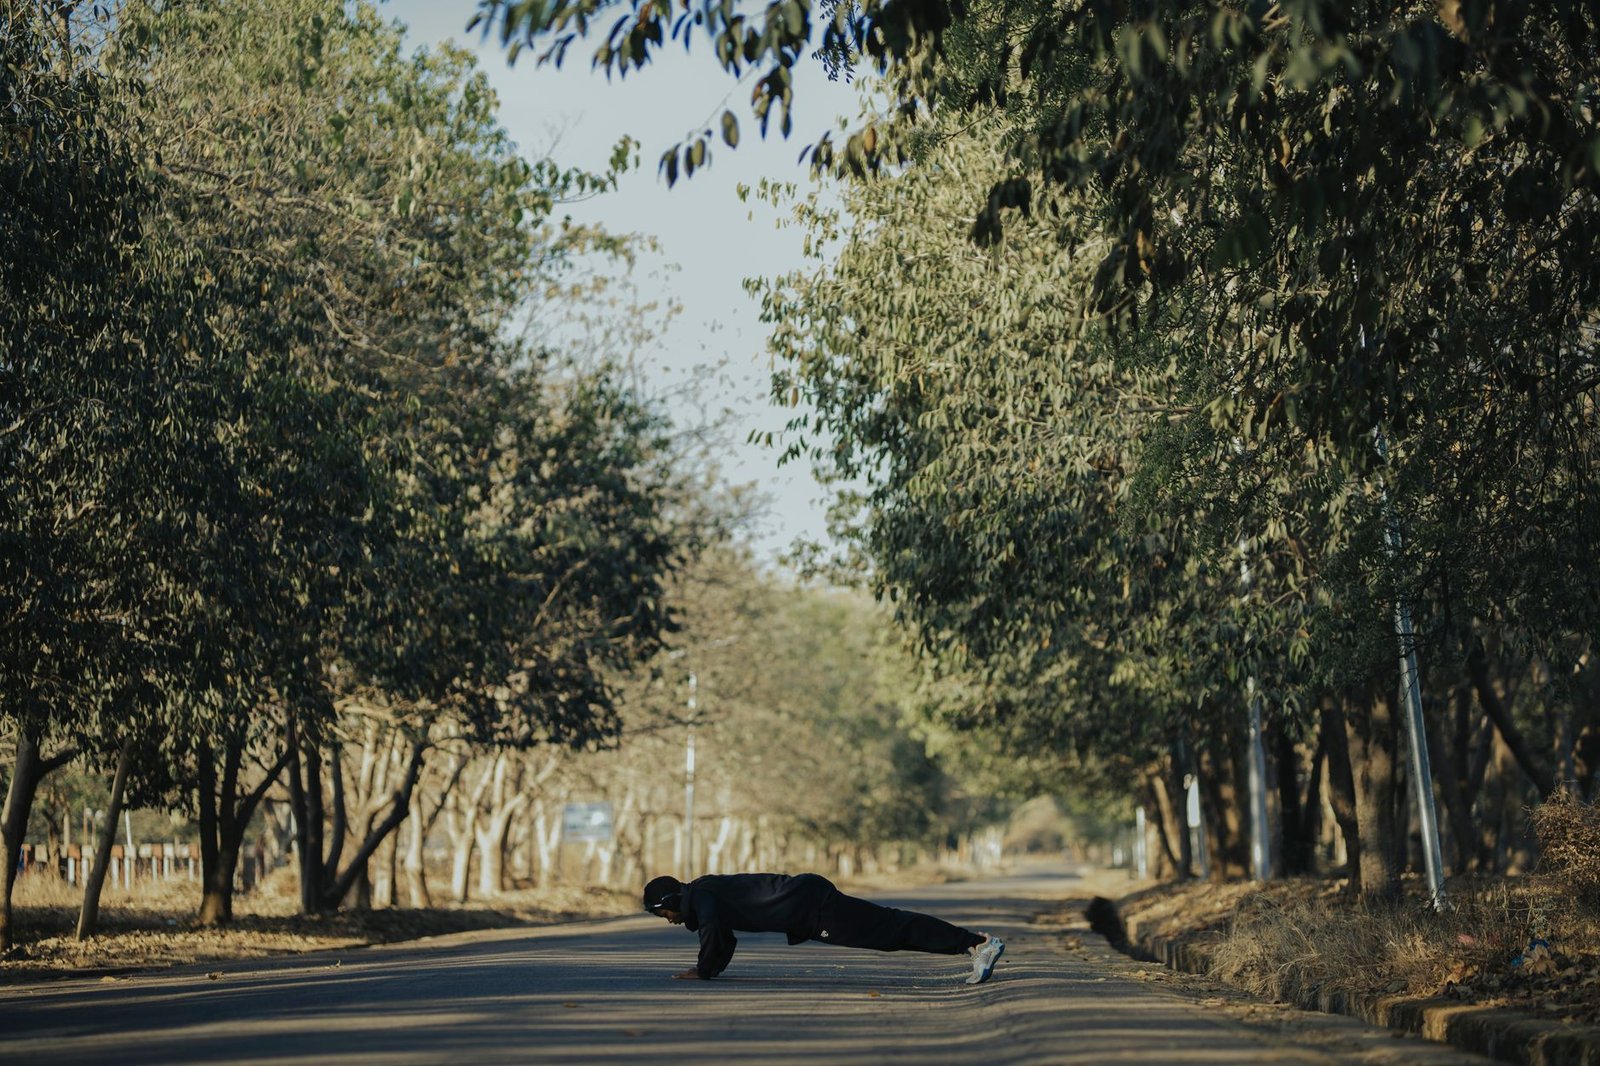
The push up is the foundation of upper body calisthenics. Start with your hands on a wall, feet back, body in a straight line. Lower your chest to the wall and push back. When you can do 3 sets of 15 wall push ups with good form, move to a countertop or a sturdy table, then to your knees on the floor, then to a full push up. The standard is a full push up with a straight body, chest to the floor, 3 sets of 8 to 12. The harder version is a slow push up, taking 3 seconds down and 3 seconds up, or feet raised on a step.
2. Bodyweight Squat
Stand with feet shoulder-width apart, toes slightly out. Sit back and down as if into a chair, keeping your chest up and your knees tracking over your toes. Go as low as you can with good form, then drive up through your heels. The easier version is a squat to a chair: sit down lightly and stand up. The standard is a full bodyweight squat, 3 sets of 12 to 15. The harder version is a slow squat with a 3-second pause at the bottom, or a jump squat.
3. Incline Row (Australian Pull Up)
Find a low bar, a sturdy table edge or a broom across two chairs. Lie underneath, grip the bar with both hands, body straight, heels on the floor. Pull your chest to the bar, then lower slowly. The easier version is a steeper angle: stand more upright and use your feet more. The standard is a bodyweight row with your body at about 45 degrees, 3 sets of 8 to 10. The harder version is a lower bar and feet raised on a step. Rows build the pulling strength you need for a pull up, and they balance all the pushing.
4. Glute Bridge
Lie on your back, knees bent, feet flat on the floor. Push through your heels and lift your hips until your body forms a straight line from shoulders to knees. Squeeze your glutes at the top, then lower slowly. The easier version is a shorter range: lift only halfway. The standard is a full bridge, 3 sets of 15. The harder version is a single-leg bridge, one foot in the air. Bridges wake up the glutes, which spend all day switched off when you sit, and they protect your lower back in squats and lunges.
5. Dead Hang
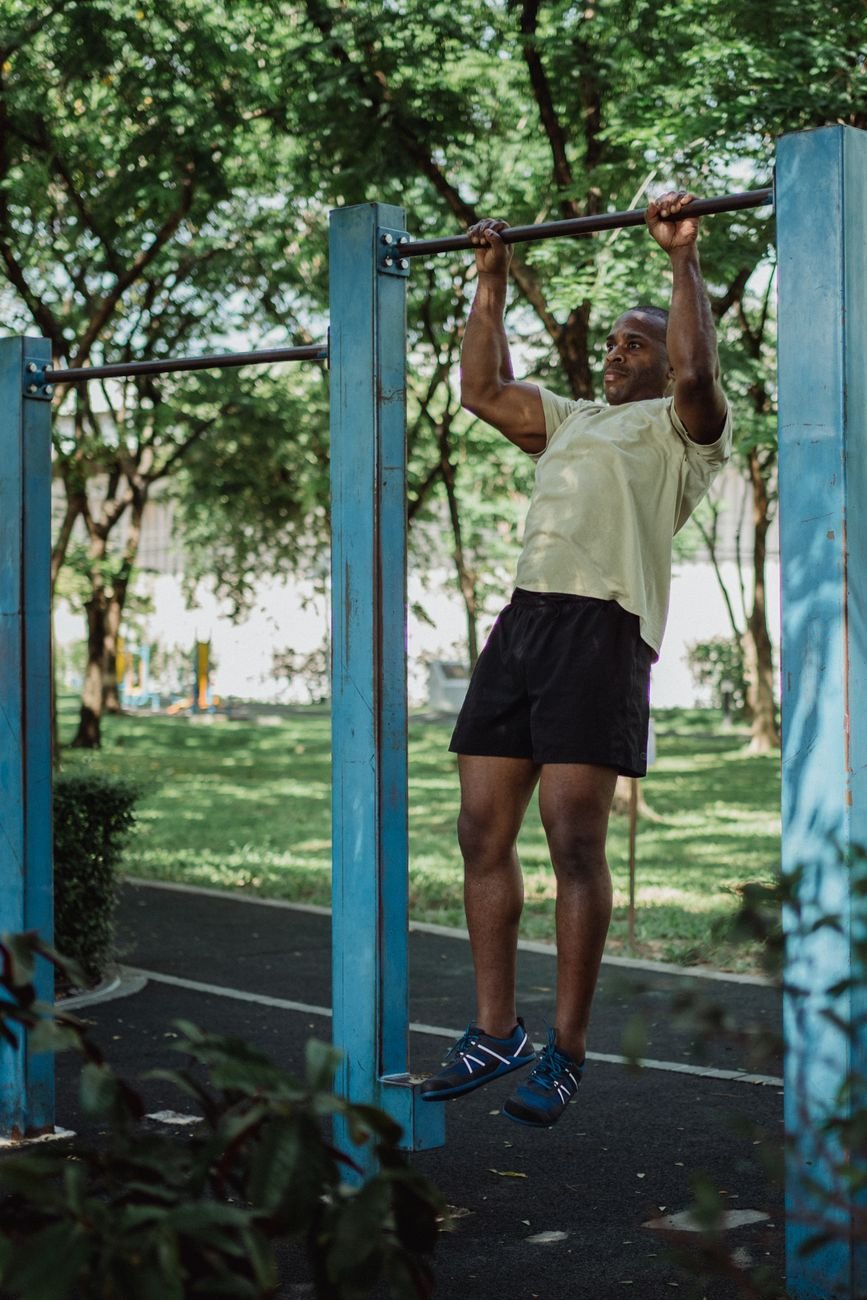
Grab an overhead bar with both hands, palms facing away, and hang with your arms straight. Keep your shoulders down away from your ears and your core gently braced. Start with 10 seconds and build to 30. The easier version is a hang with your feet lightly touching the floor or a step, taking some of your weight. The standard is a full dead hang for 30 seconds. The harder version is a hang with slow shoulder shrugs, or a one-arm hang for a few seconds. Hanging builds grip strength and decompresses the shoulders, and it is the first step toward a pull up. Once you can hang for 30 seconds, work toward your first rep with our guide to how to do a pull up.
6. Plank
Rest on your forearms and toes, body in a straight line from head to heels. Do not let your hips sag or pike up. Breathe normally. The easier version is a plank on your knees. The standard is a full plank for 30 to 60 seconds. The harder version is a plank with one arm or leg lifted, or a side plank. Planks teach your core to brace, which protects your back in every other move.
7. Reverse Lunge
Stand tall, step one foot back, and lower until both knees are bent at about 90 degrees. Push through the front heel to return. Reverse lunges are kinder on the knees than forward lunges, because you control the landing. The easier version is a shorter step with a hand on a wall for balance. The standard is 3 sets of 8 per leg. The harder version is a walking lunge or a lunge with a slow 3-second lowering.
8. Pike Push Up
Place your hands on the floor and your feet on a low step or the floor, hips high, body in an upside-down V. Bend your elbows to lower the top of your head toward the floor, then push back up. Pike push ups build shoulder strength and prepare you for handstand work far in the future. The easier version is a shorter pike with your feet on the floor. The standard is 3 sets of 8. The harder version is feet raised higher on a step.
9. Hollow Body Hold
Lie on your back, arms extended overhead, legs straight. Lift your shoulders and legs a few inches off the floor, press your lower back into the ground, and hold. The easier version is knees bent, arms at your sides. The standard is a full hollow hold for 20 to 30 seconds. The harder version is a hollow rock, gently rocking back and forth while holding the shape. Gymnasts use this shape for everything, and it is the best core drill most beginners never try.
10. Bench Dip
Sit on the edge of a sturdy chair or low step, hands beside your hips, fingers forward. Slide your hips off the edge and bend your elbows to lower your body, then push back up. Keep your shoulders down and your chest open. The easier version is knees bent with feet close. The standard is legs straight, 3 sets of 10. The harder version is feet raised on another chair. Dips work the triceps and chest, and they pair well with rows for balanced arms.
That is the full set. Ten moves, no gym, no weights. You do not need to master them all before you start training. You need to know the easier version of each one, so you can begin today at your own level.
Your First 4-Week Calisthenics Plan for Beginners
Train 3 days a week, with at least one rest day between sessions. Each session takes 25 to 35 minutes. Do a 5-minute warm up first: marching in place, arm circles, leg swings and a few easy squats. Finish with 5 minutes of stretches to improve flexibility. If you are new to lifting, a strength training plan that builds in rest days will serve you better than training every day. That is the whole calisthenics for beginners plan: three sessions, ten moves, four weeks.
Week 1: Calisthenics Basics for Beginners
Do the easier version of every move. 2 sets of each, 8 to 10 reps, or 10 to 20 seconds for holds. Rest 60 to 90 seconds between sets. The goal this week is not effort. It is learning the shapes: straight body in a plank, deep squat, smooth row. If a move hurts a joint, swap it for the easier version or skip it and try again next week.
Week 2: Add a Little More Calisthenics for Beginners
Move to the standard version of the moves you found easy, and stay on the easier version of the ones that challenged you. 3 sets of each. Add 2 reps to every set you completed comfortably last week. You should feel worked by the last set, but still able to keep good form. If your form breaks, stop the set. Bad reps do not count.
Week 3: More Calisthenics Volume for Beginners
Add a third set to any move still on 2 sets, and add 2 more reps per set. This is the week most people notice a change: push ups feel smoother, squats feel deeper, hangs feel longer. Keep the warm up and the rest days. Soreness is normal in the first two weeks and should fade as your body adapts. If soreness lasts more than 3 days, take an extra rest day.
Week 4: A Calisthenics Test for Beginners
Repeat the Week 1 session and compare. Count your reps, time your hangs and holds, and write the numbers down. Most beginners add several reps per move in a month, and many move up a progression level on at least two moves. That is real progress. After Week 4, repeat the plan with the harder versions where you earned them, or start a new 4-week cycle with more volume.
How Often Should You Train?
Three days a week is the sweet spot for a beginner. It gives you enough practice to learn the moves and enough recovery to adapt. Training every day is not better: muscles get stronger while you rest, not while you train. Guidance on how many rest days a week you need will help you plan the gaps. Two rest days between sessions is plenty when you are starting, and one full rest day a week should stay in your routine even as you get stronger.
If you miss a session, do not try to catch up by doubling the next one. Just do the next session as planned. Consistency over months beats intensity over days, and a routine you can keep is worth more than a perfect week you cannot repeat.
5 Mistakes Beginners Make With Calisthenics
Mistake 1: Skipping the Warm Up
Cold muscles and stiff joints do not like sudden effort. Five minutes of easy movement before you start prevents most strains and makes every move feel better. March, swing your arms and legs, do a few easy squats. It is boring and it works.
Mistake 2: Chasing the Hard Version Too Soon
Jumping to full push ups before you can do 15 good knee push ups teaches bad form and sore shoulders. Earn the next level: when you can do 3 sets of 12 clean reps, move up. Progressions exist for a reason, and skipping them is the fastest way to stall.
Mistake 3: Forgetting Your Back in Calisthenics
Push ups are satisfying and rows are not, so most beginners do far more pushing than pulling. That imbalance rounds the shoulders forward and invites shoulder pain. Pair every pushing move with a pulling move: rows with push ups, hangs with dips. Your back will thank you.
Mistake 4: Training Through Pain
Muscle burn is normal. Joint pain is not. If a shoulder, wrist or knee hurts during a move, stop and try the easier version or a different move. Soreness that fades in a day or two is part of adapting; pain that sharpens or lingers is a signal to rest. A little foam rolling after training can help with normal soreness, and our guide to how to recover faster after workout explains the rest.
Mistake 5: No Plan, No Tracking
Random workouts produce random results. Write down your reps, sets and hold times, even in a phone note. When you can see last week’s numbers, you know exactly what to beat. That is the whole secret of progress: a plan, a pencil and patience.
Calisthenics for Beginners: Frequently Asked Questions
Can I build muscle with calisthenics alone? Yes, especially as a beginner. Bodyweight moves build real strength and muscle when you progress them: harder angles, slower reps, more volume. At advanced levels you may want added weight, but most beginners have years of progress available with body weight alone.
Do I need a pull up bar to start calisthenics? No. You can start with 9 of the 10 moves in this guide using only a floor and a wall. A bar opens up hangs, rows and pull ups, and a doorway pull up bar is the only kit worth buying early. Our guide to home gym equipment explains what is worth it and what is not.
How long before I see results from calisthenics? Most beginners feel stronger in 2 to 3 weeks and see visible changes in 6 to 8 weeks, if they train 3 days a week and eat enough protein. Strength comes first, visible muscle follows. Take a photo on day one so you can compare honestly later.
Is calisthenics safe for older adults? Bodyweight training is one of the safest ways to build strength at any age, because you control the load and the range. Start with the easier versions, progress slowly, and check with a clinician first if you have a heart condition, joint problems or balance issues.
The Bottom Line on Calisthenics for Beginners
Calisthenics for beginners is not about doing the hardest moves. It is about doing the right moves, at the right level, three times a week, and progressing a little at a time. Learn the 10 moves in this guide, follow the 4-week plan, and track your numbers. In a month you will be stronger, and in three months you will wonder why you waited so long to start.
This article is for general information only and is not medical advice. Exercise affects people differently, and calisthenics is not suitable for everyone. If you have a health condition, an injury or balance problems, talk to a doctor or a qualified exercise professional before starting a new programme.

 Ablaze Fitness


 Mélanie Courcelles


