

Pressing a weight overhead, swimming a length of the pool, or throwing a ball in the park all ask the same small group of muscles to do quiet, constant work. Those muscles are the rotator cuff, and they are easy to ignore right up until the shoulder starts to ache or feel unstable. The good news is that rotator cuff exercises are simple, need almost no equipment, and take about fifteen minutes. This guide explains what the rotator cuff is, walks through the best beginner movements step by step, and puts them together into a routine you can repeat two or three times a week.
Nothing here requires a gym. A light resistance band and a pair of small dumbbells, or even two filled water bottles, cover every exercise. The emphasis throughout is on slow, controlled reps with light resistance, because the rotator cuff responds far better to precision than to heavy loading.
What the Rotator Cuff Actually Is
The rotator cuff is a group of four muscles and their tendons that wrap around the shoulder joint:
- Supraspinatus runs along the top of the shoulder blade and helps lift the arm out to the side, especially early in the movement.
- Infraspinatus covers the back of the shoulder blade and is the main muscle that rotates the arm outward.
- Teres minor sits just below the infraspinatus and assists with outward rotation.
- Subscapularis is the large muscle on the front of the shoulder blade, and it rotates the arm inward.
Together, these four muscles pull the ball of the upper arm bone into the shallow shoulder socket and hold it centred while bigger muscles, such as the deltoids, chest, and lats, produce the force for lifting, pressing, and pulling. Clinicians group them with the nickname SITS muscles, from their initials.
It helps to think of the cuff as the steering and stabilising crew rather than the engine. When the cuff is weak or fatigued, the ball of the joint can drift slightly as you lift, and the structures around it may end up doing work they are not built for. That is one reason rotator cuff exercises show up in so many general shoulder programs, including the Rotator Cuff and Shoulder Conditioning Program published by the American Academy of Orthopaedic Surgeons, which builds its strengthening section around rotation and shoulder blade movements much like the ones below.
Why Rotator Cuff Exercises Matter
You do not need to be an athlete for this training to be relevant. Three situations make the case.
Lifting and pressing feel steadier. A stronger cuff helps keep the joint centred during overhead presses, push-ups, and rows, which may make those movements feel smoother and more controlled. Anyone adding pressing and arm training to their week is asking a lot of the shoulder, and the cuff is part of what makes that workload tolerable.
Overhead activity gets support. Swimming, tennis, throwing sports, and even painting a ceiling all load the shoulder in raised positions. Conditioning the cuff and the shoulder blade muscles is widely recommended as part of preparing the shoulder for that kind of work.
It may help you stay consistent. Many people quit upper body training because of a nagging shoulder, not a lack of motivation. Keeping the small stabilisers strong is a low cost habit that supports the bigger training you actually enjoy. The limits matter too: no routine can guarantee you will never injure a shoulder, and these exercises are not a treatment for any diagnosed condition. They are general conditioning, like strengthening your legs or core.
Equipment and Load Guidance for Rotator Cuff Exercises
The rotator cuff muscles are small, and they fatigue quickly. That single fact drives every loading rule in this article.
- Start lighter than you think. For most beginners, a light band or a dumbbell of 0.5 to 2 kilograms (about 1 to 5 pounds) is plenty. If you cannot keep perfect form for ten slow reps, the weight is too heavy.
- Slow down. Aim for two to three seconds to move into position, a brief pause, and two to three seconds back. Momentum turns a cuff exercise into a deltoid exercise.
- Stay in a pain-free range. A mild muscle burn in the back of the shoulder is normal. Discomfort at the end of a rotation is a signal to shorten the range, not push through it. Sharp, pinching, or catching pain means stop, and the safety section below explains why. Breathing steadily matters too: holding your breath is a reliable sign the load is too heavy.
Warm Up Before Your Rotator Cuff Exercises
Cold, stiff shoulders do sloppy work, and sloppy reps are wasted reps. Spend three to five minutes on the following first:
- Pendulum swings. Lean forward with your free hand on a chair, let the working arm hang, and make small circles for 30 seconds each direction.
- Arm circles. Small circles forward and backward for 30 seconds each, growing slightly larger while staying comfortable.
- Band pull-aparts. Hold a light band in front of you with straight arms and draw it apart toward your chest 10 to 15 times.
- Cross-body reaches. Draw one arm gently across your chest with the other hand, 20 to 30 seconds per side.
Gentle mobility work like this pairs well with general flexibility training, and these stretches to improve flexibility cover the shoulders along with the rest of the body.
The Rotator Cuff Exercises, Step by Step
Perform the exercises in order: the first three target rotation directly, the next two train the shoulder blade muscles that support the cuff, and the last two round out the session.
1. Band External Rotation
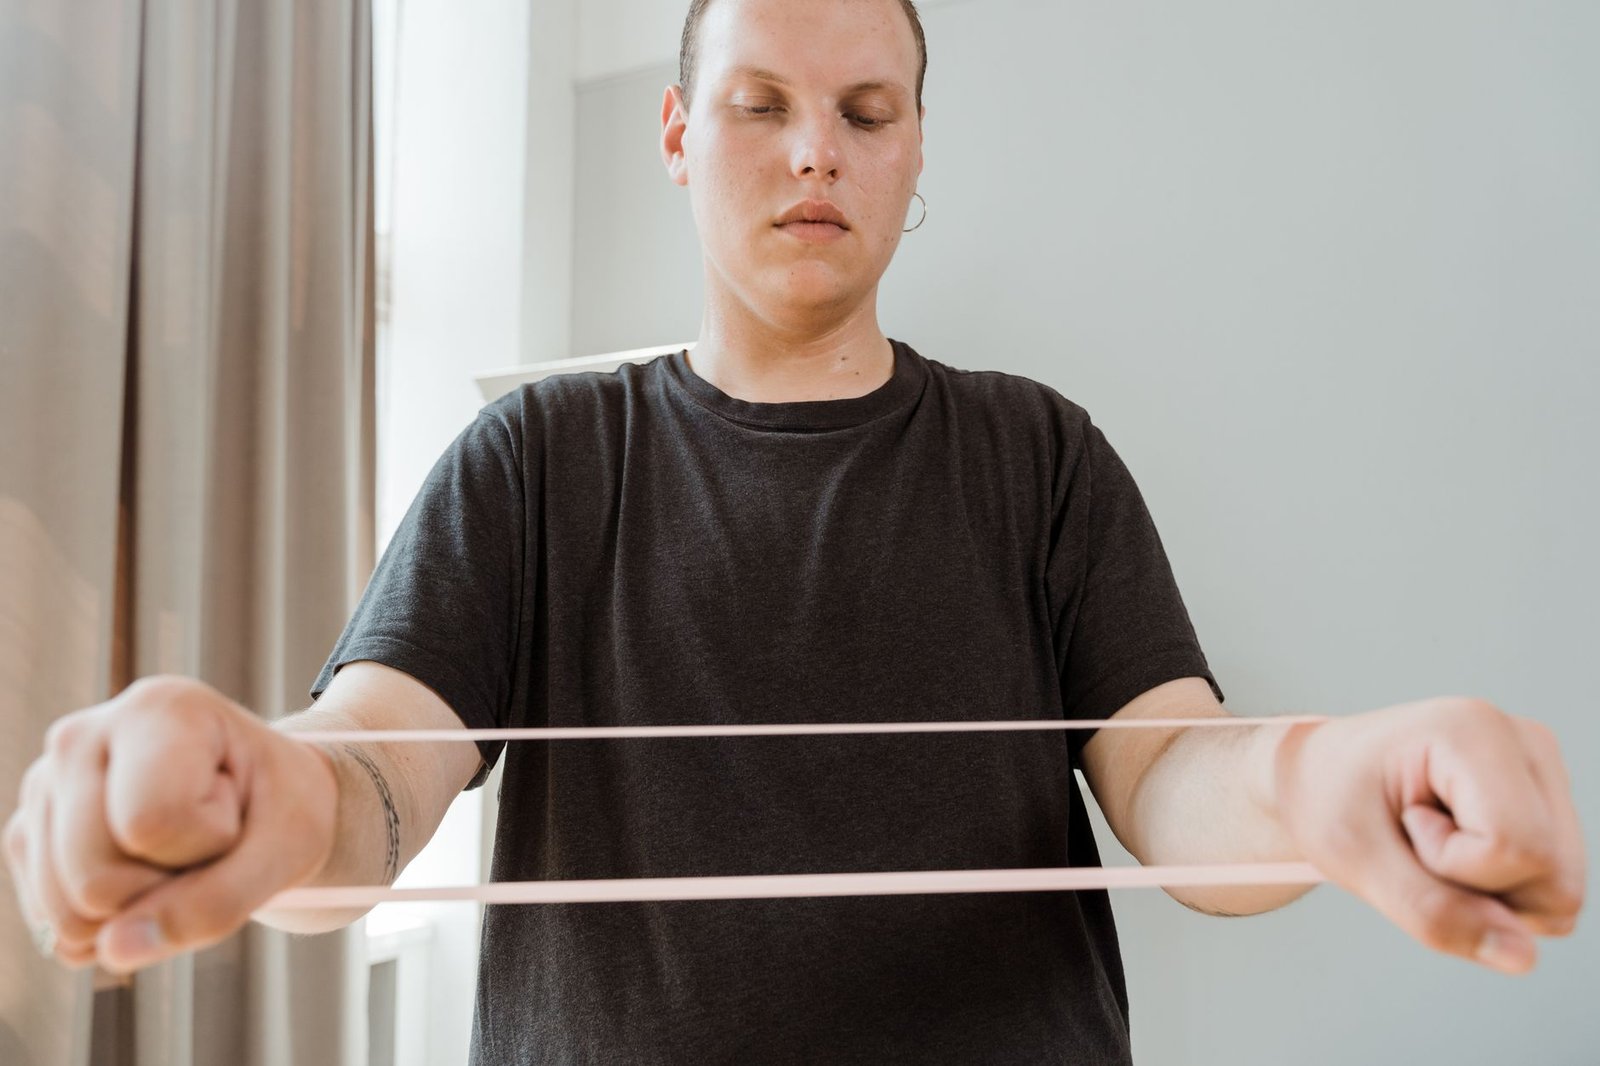
This is the cornerstone movement for the infraspinatus and teres minor, and the one most people get wrong by letting the elbow wander.
- Anchor a light band at elbow height, or hold it with the opposite hand across your body.
- Place a small rolled towel between your elbow and your ribs on the working side, and squeeze it gently. The towel is your form checker: if it drops, your elbow drifted.
- Bend the elbow to 90 degrees so the forearm points straight ahead, thumb up.
- Keeping the elbow pinned, rotate the forearm outward like opening a gate, stopping before your shoulder shrugs or your trunk twists.
- Pause for a second, then return slowly.
Key cues: elbow tucked and still, ribs down, wrist straight, and the movement coming from the shoulder rather than the whole body leaning away from the band.
2. Side-Lying External Rotation
Lying down removes your ability to cheat with body English, which makes this a favourite for learning clean rotation.
- Lie on your non-working side with your head supported and your working arm on top, elbow bent to 90 degrees and resting on your ribs. A small towel under the elbow is fine.
- Hold a very light dumbbell with the hand resting near your stomach.
- Without letting the elbow lift off your side, rotate the forearm upward toward the ceiling as far as is comfortable.
- Lower under control, taking a full two to three seconds.
Key cues: if you have to roll backward to lift the weight, it is too heavy. Many beginners need just 0.5 kilograms (about 1 pound) here, and some start with no weight at all.
3. Band Internal Rotation
The subscapularis rotates the arm inward, and balanced training means giving it direct work too.
- Use the same setup as band external rotation, standing on the other side of the anchor so the band pulls from the working side.
- Keep the towel roll tucked under the elbow, elbow bent to 90 degrees, forearm pointing out to the side.
- Rotate the forearm inward across your stomach, like closing the gate.
- Return slowly until the forearm points forward again. There is no need to rotate past neutral.
Key cues: same rules as external rotation. Elbow still, slow tempo, and a range that ends where control ends.
4. Prone Y Raises
Prone Y raises train the lower trapezius and the muscles that position the shoulder blade, which matters because the cuff works best when the blade it attaches to is stable.
- Lie face down on a bench or the floor, arms reaching overhead in a Y shape, thumbs pointing up.
- Keeping the arms straight and the neck relaxed, lift both arms a few centimetres (a couple of inches) off the surface.
- Hold for one to two seconds, feeling the muscles between and below your shoulder blades work, then lower slowly.
Key cues: this is a small movement. If you are swinging your torso or craning your neck, reduce the range. Bodyweight only is enough for most people.
5. Prone T Raises
The T variation shifts the emphasis toward the middle trapezius and rear deltoids, supporting posture and the back of the shoulder.
- From the same face down position, extend your arms straight out to the sides in a T, thumbs up.
- Squeeze the shoulder blades together and lift the arms slightly off the surface.
- Pause briefly, then lower with control.
Key cues: think about pinching a pencil between your shoulder blades rather than lifting your hands as high as possible. Add the lightest dumbbells only when bodyweight reps feel easy and clean.
6. Scaption Raises
Scaption means raising the arm in the plane roughly halfway between straight ahead and straight out to the side, a comfortable, natural arc for the shoulder that targets the supraspinatus and deltoids together.
- Stand tall holding light dumbbells or water bottles, thumbs pointing up.
- Raise both arms at about a 30 to 45 degree angle from your body, as if tracing the outline of a wide V.
- Lift to about shoulder height, no higher, then lower slowly.
Key cues: shrug and this exercise falls apart. Set the shoulder blades down before each rep, and keep the thumbs up.
7. Wall Slides With a Lift-Off
Wall slides train the serratus anterior and lower trapezius, the pairing that helps the shoulder blade glide properly when you raise your arm.
- Stand facing a wall with your forearms flat against it, elbows at shoulder height, a mini band around your wrists if you have one.
- Slide the forearms up the wall in a narrow V, keeping them in contact with the surface.
- At the top, lift the hands a centimetre or two off the wall, then replace them and slide back down.
Key cues: ribs down and no arching of the lower back as you reach. The lift-off should feel like a small upward shrug done by the shoulder blades, not the neck.
The Sample Rotator Cuff Exercises Routine
Run the routine two or three times per week on non-consecutive days. It takes about fifteen minutes and works well at the end of an upper body session, or standalone on a lighter day. If you are following a structured program such as this beginner strength training plan, attach it to the end of two workouts each week.
| Exercise | Sets | Reps | Rest |
|---|---|---|---|
| Band external rotation | 3 | 12 to 15 per side | 30 to 60 seconds |
| Side-lying external rotation | 2 | 10 to 12 per side | 30 to 60 seconds |
| Band internal rotation | 2 | 12 to 15 per side | 30 to 60 seconds |
| Prone Y raises | 2 | 8 to 10 | 45 to 60 seconds |
| Prone T raises | 2 | 8 to 10 | 45 to 60 seconds |
| Scaption raises | 2 | 10 to 12 | 45 to 60 seconds |
| Wall slides with lift-off | 2 | 8 to 10 | 30 to 45 seconds |
Quality rules for every session: the last two reps of a set should feel challenging while still looking exactly like the first two, and both sides get the same number of reps even if one side feels stronger. Start sets with the weaker side while you are fresh, and let it set the numbers for the stronger side.
How to Progress Your Rotator Cuff Exercises
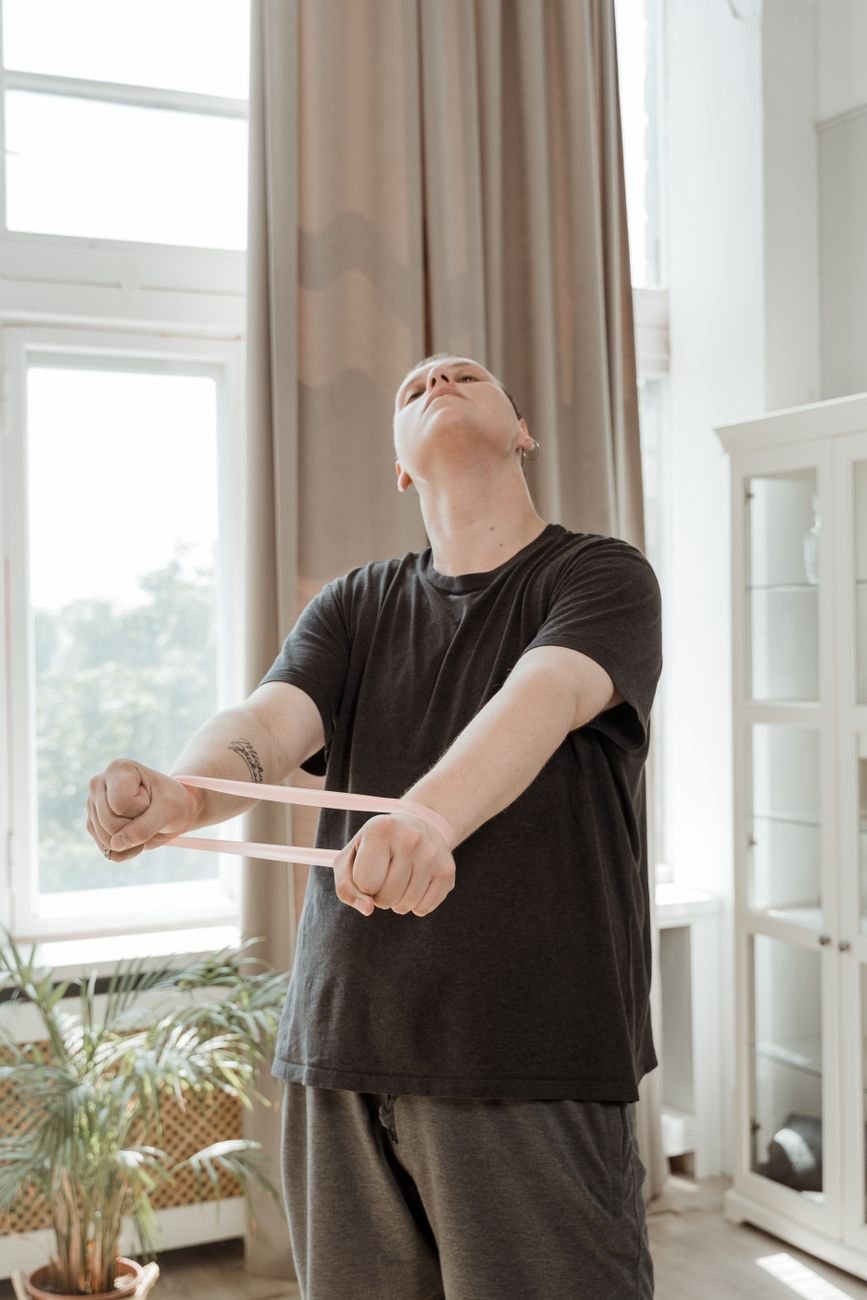
These muscles reward patience. Progress in this order, and only move to the next step when the current one looks clean on video or in a mirror.
- Add reps first. Build toward the top of each rep range with perfect form.
- Use the two-for-two rule. If you can perform two extra reps beyond the target on the final set, two sessions in a row, make the smallest available increase in band tension or weight.
- Increase range before load. A slightly larger pain-free rotation with the same band beats a heavier band with a shrinking range.
- Slow the lowering phase. Counting a full three seconds on the way down is a legitimate progression by itself.
Expect progress in weeks, not days. A reasonable beginner timeline is four to six weeks on the starting loads before meaningful increases, and it is normal for external rotation strength to feel modest next to your pressing strength. The cuff is not built to move big numbers.
Common Mistakes in Rotator Cuff Exercises
Most errors come from treating these like normal strength exercises. Watch for the following.
- Going too heavy. The moment the weight gets ambitious, the deltoid and upper trapezius take over and the cuff stops doing the job. Heavy is the most common fault in rotation work.
- Letting the elbow drift. If the elbow leaves your ribs during band rotations, you have turned a rotation exercise into a row. The towel roll exists to expose exactly this.
- Shrugging toward your ears. Rising shoulders during scaption raises or wall slides mean the neck muscles are substituting. Reset the shoulder blades down before every rep.
- Rushing the reps. Fast, bouncy rotations use momentum instead of muscle control. If your reps take less than about four seconds each, slow down.
- Training only one direction. Skipping internal rotation because external rotation gets all the attention leaves the biggest cuff muscle undertrained.
- Ignoring the weaker side. Matching reps to the weaker side keeps the two shoulders developing together instead of widening the gap.
Safety: When to Skip These Exercises and Get Checked
Rotator cuff exercises are general conditioning for healthy shoulders, and they have clear limits.
Stop a session and reassess if you feel any of the following: sharp or pinching pain during a movement, pain that is clearly worse the next day, a feeling of the shoulder slipping or catching, new weakness such as struggling to lift the arm, or numbness and tingling down the arm. Reducing the load is reasonable for mild muscular effort, but it is not the answer to those signals.
Some readers should not use this routine at all. If you have had shoulder surgery, a dislocation, a fracture, or a recent injury, the exercises, loads, and ranges you are cleared to use come from your surgeon, doctor, or physiotherapist, and their program replaces this one. Rehabilitation after surgery follows staged timelines that general articles cannot safely guess at. The same applies if you have been diagnosed with a torn rotator cuff: your clinician’s guidance comes first.
This article is general fitness information, not a rehabilitation prescription. A physiotherapist or sports medicine clinician can assess your shoulder in person, which no article can do.
Frequently Asked Questions About Rotator Cuff Exercises
How often should I do rotator cuff exercises?
Two or three sessions per week, with at least one rest day between them, suits most beginners. The muscles are small and the loads are light, but they still need recovery time to adapt, and daily hard effort tends to produce sloppy form rather than faster progress.
How much weight should I use for rotator cuff exercises?
Far less than you expect. Most beginners do well with a light band or 0.5 to 2 kilograms (roughly 1 to 5 pounds) for the rotation movements, and many need no weight at all for side-lying external rotation at first. Choose the load that lets you finish every rep slowly, elbow still, shoulder down.
Should rotator cuff exercises hurt?
No. A mild burning effort in the back of the shoulder during the final reps is normal muscle work. Sharp pain, pinching, catching, or pain that lingers and worsens into the next day is not, and it is a sign to stop and get the shoulder assessed in person.
How long before rotator cuff exercises make a difference?
With two or three clean sessions a week, most people notice better control and endurance in the movements within four to six weeks, although individual timelines vary a lot. Think of this as a long-term habit for shoulder health, similar to how the AAOS suggests continuing shoulder conditioning work as ongoing maintenance.
Do rotator cuff exercises prevent shoulder injuries?
They may help. Stronger stabilising muscles support the joint during lifting and sport, and conditioning programs like this one are commonly recommended for shoulder health. But no honest source can promise prevention, because injuries also depend on workload, technique, accidents, and individual anatomy. Treat the exercises as risk reduction, not a guarantee.
The Bottom Line
Rotator cuff exercises ask for fifteen minutes, a light band, and your full attention to form. Master the band external rotation with the towel tucked in, keep the loads humble, progress by reps before weight, and let pain be the hard stop it deserves to be. Done consistently, this routine supports everything your shoulders do.
General information only. This article is not medical advice and is not a substitute for assessment or treatment by a qualified clinician or physiotherapist.

 Ablaze Fitness


 Mélanie Courcelles


