


Rucking is walking with weight in a backpack. That is the whole definition, and it is why this beginner rucking guide can get you started with gear you probably already own: a sturdy pack, something heavy to put in it, and a route out your front door. No gym, no machine, and no new skill to learn before your first session, because the skill is walking, which you already have.
What the weight adds is cost. Every step moves more mass, so your legs, trunk, heart, and lungs all do more work at the same walking pace. In the Compendium of Physical Activities, the standard reference researchers use for exercise energy cost, loaded backpacking sits at about 7 METs, roughly double the roughly 3.3 to 3.5 METs of unloaded walking at a similar pace. You will not double your calorie burn in practice, because a heavy pack slows most people down, but a ruck is meaningfully harder than the same walk without one, and that gap is the entire appeal.
This guide covers the parts that decide whether rucking becomes a habit or a sore-backed experiment: choosing and fitting the pack, packing the weight so it rides quietly, how much to start with, footwear, and a first week plan that builds you up in the right order.
Beginner rucking guide: what rucking is, and how it differs from a weighted vest
Rucking grew out of military training: soldiers have always conditioned by marching with packs, and the civilian version borrows the method. Load a backpack, walk at a purposeful pace, repeat. Events, clubs, and purpose-built gear exist, but none of it is required to start.
The closest relative is weighted vest walking, where the load is worn around the torso instead. The training effect is broadly the same, and the choice comes down to the carrier: a vest spreads weight around your body, while a pack concentrates it behind you, which makes pack fit and packing the skills that matter here. If you want the full comparison, including the percentage-of-body-weight maths both methods share, our guide to weighted vest walking covers it. This guide stays with the backpack.
One more distinction worth knowing: rucking is not hiking with a heavy pack on a mountain trail, although it can grow into that. Most rucking happens on ordinary ground: neighbourhood streets, park paths, canal towpaths, and gentle trails, at a pace you could hold a conversation through, at least at the start.
What rucking does for you, honestly
Loaded walking trains several things at once. It is worth being precise about which claims are solid. This beginner rucking guide keeps those claims honest.
Cardio at walking speeds. The elevated energy cost means your heart and breathing work harder. It reaches a level similar to a much brisker unloaded walk, without asking your joints to absorb running impacts. For people whose knees dislike running, that trade is the main event.
Leg and trunk strength endurance. Your glutes, calves, and postural muscles work continuously. They move and stabilise the load. It is not a replacement for strength training. It will not build muscle like progressive lifting does. But it builds durable, all-day strength. That strength carries shopping, children, and luggage without complaint. Pair it with a simple strength routine, such as our beginner strength training plan, and the two cover each other well.
Calorie burn and fat loss support. A ruck costs more energy per minute than the same walk unloaded, so it helps a calorie deficit along. It does not outrun a fork, and the honest frame is the one we use for plain walking too: loaded walking makes the walking you already do count for more, which is exactly why it features in our guide to walking 10,000 steps for fat loss.
Time outside and headspace. Rucking happens outdoors, at a pace that lets you look around, and many people find the rhythm of a loaded walk is where stress goes to die. A habit you enjoy is a habit that survives February.
Beginner rucking guide: the pack, what you need and what you do not
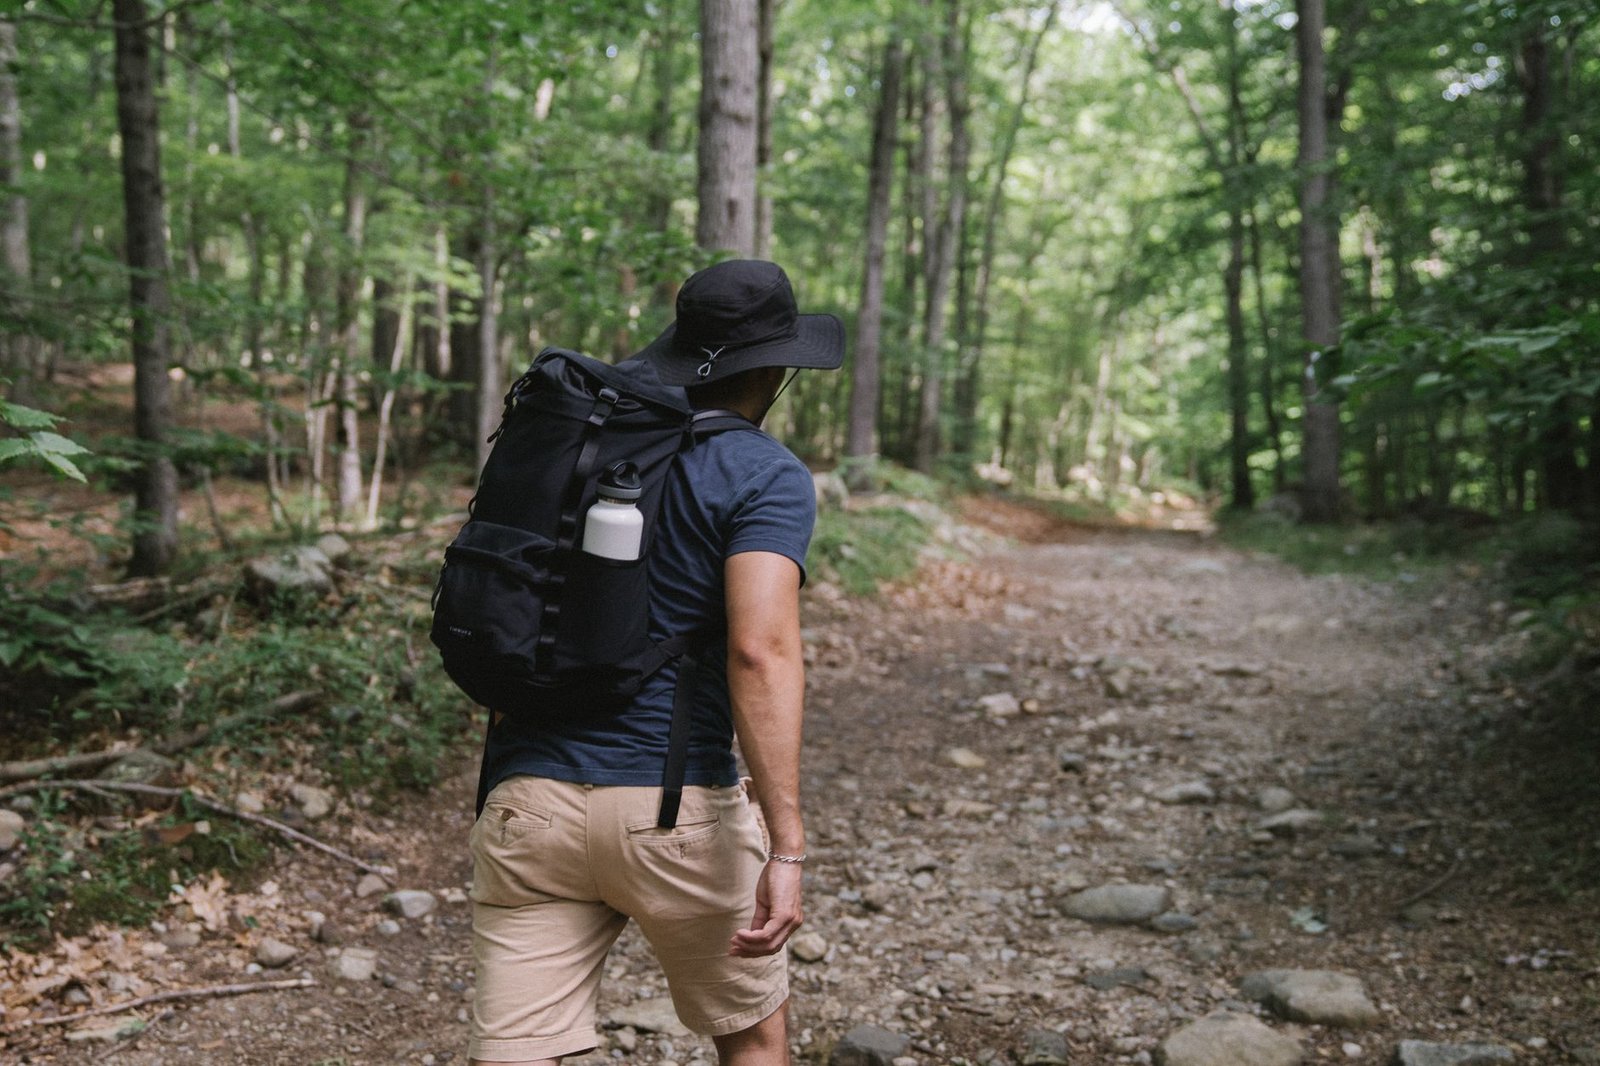
Start with a backpack you already own if it passes three tests. This beginner rucking guide uses the same three tests. First, the shoulder straps are padded and wide enough not to dig in. Second, the back panel has some structure, even just a foam pad, so the load does not poke you. Third, it is big enough for your weight plus a layer and water, roughly 15 to 25 litres for most people.
Two features move a pack from tolerable to comfortable, and they matter more as loads grow:
A hip belt. A padded belt that fastens around your hip bones transfers a real share of the load from your shoulders to your pelvis, where your legs can carry it. School-style packs usually lack one or have a thin webbing strap; a simple hiking daypack usually has a proper one. If you ruck regularly beyond about 10 kilograms, a real hip belt is the single best upgrade.
A sternum strap. The small strap linking the shoulder straps across your chest stops the straps sliding outward and changes how the load sits. Most hiking packs have one; use it.
Purpose-built rucking packs exist, with reinforced handles, plate pockets that hold weight high and tight, and heavy-duty fabrics. Earn one with a few months of consistent rucking in a regular pack first, if you want one at all.
What to skip: frameless ultralight packs that collapse under dense loads, fashion packs with thin straps, and anything so large that the weight sits low and far from your back.
What to use as weight
The load itself can be almost anything dense, stable, and secure. This beginner rucking guide lists the options that work best.
- Purpose-made ruck plates: flat cast-iron plates sized for pack pockets. Clean, compact, and the easiest to pack well.
- Books: heavy hardbacks work surprisingly well and most homes have them.
- Water: one litre weighs one kilogram, so bottles and bladders are a precise, adjustable load, with the bonus that you can drink your weight down on a long, hot ruck.
- Sand or gravel in strong zip bags, double-bagged and wrapped in a towel: cheap and mouldable, but wrap it well, because leaks are miserable.
- Bagged rice, dumbbells wrapped in towels, or a weighted blanket folded tight: all workable if they cannot shift.
Whatever you choose, the rule is stability. A load that slides, thumps, or migrates to the bottom of the pack will wreck your posture and your mood. Fill spare space with clothes or towels so nothing can move.
Packing and fitting: the skills that make or break a ruck
This is the section that separates rucking from the vest method. This beginner rucking guide puts packing first. A backpack hangs its load behind you, so where the weight sits and how the pack is adjusted decide whether the load feels like part of you or like a passenger trying to pull you over backwards.
Pack the weight high and close. The densest items go against your back panel, in the upper half of the pack. High and tight keeps your centre of mass near your own, so you stand tall instead of leaning back or hunching forward to compensate. Weight low and loose is the beginner mistake that causes most sore shoulders and aching lower backs.
Then fit the pack in this order:
- Loosen all the straps, put the pack on, and fasten the hip belt first, centred on your hip bones, snug enough that the pack’s weight rests on your pelvis.
- Tighten the shoulder straps until they are snug over your shoulders without lifting the belt off your hips. Your shoulders guide the load; your hips carry most of it.
- Fasten the sternum strap at mid-chest and snug it gently. It should hold the shoulder straps in place, not squeeze your chest.
- If your pack has load lifter straps, angle them so they draw the top of the pack in toward your back at roughly 45 degrees.
Walk around the house for two minutes. The pack should move with you, not sway independently. Jump lightly on the spot: nothing should thump. If the load shifts, repack before you leave, not after the first kilometre.
Beginner rucking guide: how much weight should a beginner start with?
Less than your enthusiasm suggests. For most adults, 4.5 to 9 kilograms (10 to 20 pounds) is the right starting band: enough that the walk feels purposeful, not so much that your gait changes. Smaller or deconditioned walkers should start at 3 to 5 kilograms. If you cannot keep your normal stride length and posture, the load is too heavy for today, whatever the number says.
Loaded walking practice often frames load as a percentage of body weight, and that method has real merit for comparing across body sizes. It gets one mention here because the vest guide linked above teaches it in full; in this guide, the practical test rules instead: start light, keep your posture, and let two clean sessions at a load earn the next increase. Most recreational ruckers settle happily between 9 and 16 kilograms for regular training, and there is no prize for going beyond what your joints enjoy.
Beginner rucking guide footwear: the quiet deciding factor
Your feet absorb every step of the extra load, so footwear matters more in rucking than in ordinary walking. This beginner rucking guide treats footwear as a deciding factor.
Wear shoes that are already broken in. Never debut new footwear on a loaded walk. For pavements and park paths, cushioned walking or running shoes with a supportive heel counter serve most beginners well. For rougher trails, trail runners or light hiking shoes add grip and protect against stones through the sole. Boots with ankle support earn their place on uneven, rocky ground or if your ankles roll easily, but they are heavier and stiffer than most beginners need on easy routes.
Socks are half the system. Choose moisture-wicking socks (merino wool or synthetic), never cotton, which holds sweat and guarantees friction. At the first hot spot, stop and deal with it: adjust the sock, add tape or a blister plaster. A two-minute stop saves a two-week layoff. Keep toenails trimmed, and if you are between shoe sizes, the larger size with a thicker sock usually wins under load, because feet swell on longer walks.
Posture and form under load
A good pack fit does half the work; the other half is how you move. This beginner rucking guide stresses tall posture. Stand tall with your ribs stacked over your pelvis, and if you lean at all, lean a few degrees from the ankles as one straight line, never by bending at the waist or craning your neck forward. Let your arms swing naturally; pumping them slightly on hills helps rhythm.
On climbs, shorten your stride and keep your cadence steady rather than lunging upward. On descents, shorten it further, soften your knees, and resist the urge to lean back against the load, which is hard on knees and lower back alike. Trekking poles are a legitimate tool on steep or slippery descents, not an admission of defeat.
Breathe through your nose or mouth as the effort demands, and use the talk test for pace: on training rucks, you should be able to speak in short sentences. If you cannot, slow down or note that the load and route combination was ambitious for today.
Beginner rucking guide: your first ruck and your first week plan
Choose a flat, familiar route you can finish in 20 to 30 minutes, ideally a loop from your door. This beginner rucking guide starts with a flat route. Load your starting weight, fit the pack properly, and walk at a natural, purposeful pace. Pay attention to three things: your shoulders (they should stay relaxed), your feet (no hot spots), and your posture in the final five minutes, which is where form quietly falls apart when a load is too heavy.
If that first ruck felt controlled, your first week can look like this. Every session uses your starting load; the only thing growing this week is time.
| Day | Session | Notes |
|---|---|---|
| Day 1 | Ruck 20 minutes, flat and easy | Learn the pack fit; note any hot spots. |
| Day 2 | Rest, or an unloaded walk | Let feet and shoulders report back. |
| Day 3 | Ruck 25 minutes, flat | Same load; practise tall posture throughout. |
| Day 4 | Rest | Recovery is part of the plan, not a gap in it. |
| Day 5 | Ruck 30 minutes, add gentle inclines if available | Hills at the same load, shorter stride uphill. |
| Day 6 | Rest, or an easy unloaded walk | Optional and genuinely optional. |
| Day 7 | Ruck 30 to 40 minutes on your favourite route | Finish the week knowing your baseline. |
Recovery between loaded sessions matters while tissues adapt, and our guide to how many rest days a week explains how to judge spacing for all your training, rucking included.
How to progress without breaking yourself
Rucking progression follows one order: distance first, then load, and never both in the same week.
Add time before weight. Extend your regular ruck by about 10 percent per week, or add a fourth weekly session, until you are covering the distances you want at your starting load. A month of patient distance building gives your feet, calves, and connective tissue the base that heavier loads will stand on.
Then add load in small steps. Increase by 1 to 2 kilograms, hold the new load for at least two clean sessions (no joint complaints that linger into the next day, posture intact at the end), and only then consider the next step. If a step up leaves you sore in the joints rather than tired in the muscles, step back down for a week. That is the system working, not failing.
Train two to four times per week. Daily loaded walking is unnecessary for almost everyone; alternate ruck days with unloaded walks, strength work, or rest. Most beginners progress happily for months inside that rhythm. For a sense of the effort zones you are working in as loads and hills grow, our heart rate zones calculator turns your age into training zones in seconds.
Common beginner mistakes
Starting with a hero load. The classic first ruck is 15 kilograms because the internet made it look standard. Your first ruck should feel almost too easy; you are buying technique and tissue tolerance, not a story.
Letting the weight ride low and loose. Heavy items at the bottom of the pack, far from your back, multiply every postural problem. Pack high, close, and immovable.
New shoes, cotton socks, ignored hot spots. The blister trilogy. All three are free to avoid.
Rucking on consecutive days from week one. Muscles adapt faster than tendons, feet, and joints. Earn daily frequency over months, if you ever want it.
Treating every ruck as a test. Most sessions should end feeling like you could have done a little more. Fitness is built by the sessions you repeat, not the ones that wreck you.
Who should check first, and the signs to stop
Check with a clinician or physiotherapist before rucking if you have a joint replacement or recent joint surgery, ongoing back or neck problems, arthritis that flares under load, balance problems or a history of falls, a heart condition, or you are pregnant. Loaded walking is a real training stress, and individual advice beats general guidance for those situations.
Stop a session and reassess if you feel sharp or localised joint pain (especially knees, hips, or lower back), chest pain or unusual breathlessness, numbness or tingling in the feet or shoulders that does not resolve when you adjust the straps, or dizziness. Muscle tiredness and honest effort are the sport; those signals are not.
Frequently asked questions
How heavy should a beginner’s ruck be?
For most adults, 4.5 to 9 kilograms (10 to 20 pounds) is the right starting band, and smaller or returning-to-exercise walkers do better at 3 to 5 kilograms. The real test is posture: if your stride shortens, your shoulders climb, or your form fades in the last five minutes, lighten the load.
How far should my first ruck be?
Short. Twenty to thirty minutes on a flat, familiar route tells you everything you need about your pack fit and your starting load. Build from there by about 10 percent per week.
Is rucking bad for your knees?
For healthy knees at sensible loads, loaded walking is generally well tolerated, and it delivers training stress at far lower impact than running. Knees with arthritis, instability, or recent injury are a different case, because every step carries the extra load through the joint. Start at the low end, strengthen the legs alongside, and get individual advice if pain lingers into the next day.
What is the difference between rucking and weighted vest walking?
The carrier. Rucking puts the weight in a backpack, concentrated behind you, which makes pack fit and packing the key skills. A vest spreads the load around your torso. The training effect is very similar; choose by comfort and the routes you walk.
How often should a beginner ruck each week?
Two to three sessions per week, with unloaded days between them, is the sweet spot for the first couple of months. Add a fourth session before you add much weight.
The bottom line
This beginner rucking guide is the simplest loaded training there is: a pack you already own, a modest weight packed high and close, shoes that are broken in, and a first week that builds time before it builds load. Fit the pack properly, start lighter than your pride wants, progress one variable at a time, and let your joints approve every increase. Do that, and an ordinary walk becomes one of the most complete training sessions in your week.
This article is general health and fitness information only and is not medical advice, a diagnosis, or a treatment recommendation. Talk to a qualified professional about your own situation, especially if you have a joint, back, heart, or balance condition, or take medication.

 Ablaze Fitness


 Mélanie Courcelles


